Introduction
The TranslationOS connector for Zendesk makes it easy to entrust Translated with the professional or automated translation of your forms, saving you the hassle of importing and exporting content or switching between tools.
This connector is event-based, meaning it is triggered by specific actions. To learn which actions trigger the connector, see the section Requesting translations.
Support
For general questions about functionality, our dedicated support team can be reached at info-tos@translated.com.
If you need technical information or you’re ready to integrate your Zendesk instance with TranslationOS, feel free to reach out to us at api@translated.com for assistance with onboarding.
The onboarding process may vary depending on your needs, but the following steps are a helpful guideline:
-
Translated will ask you to provide authentication credentials (see below for instructions to retrieve them).
-
You will agree with Translated on the required service levels, also known as service types. Translated will take care of configuring the connector for you.
-
We will be ready to receive, process and deliver your translation requests!
Setting up the connector
You will need to retrieve authentication credentials and send them to us, as well as do some configuration in the Guide and Support modules, depending on the content you need to have translated.
To begin, log in to Zendesk with an account which has read and write access to the articles you intend to have translated. The connector will impersonate this user.
Retrieving authentication credentials
Before obtaining the necessary authentication credentials, identify your Zendesk domain, which corresponds to the bolded part of the Zendesk URL: https://domain.zendesk.com.
With that out of the way, you’ll need to decide whether the connector should use basic or OAuth authentication. We recommend OAuth for better security.
Basic authentication
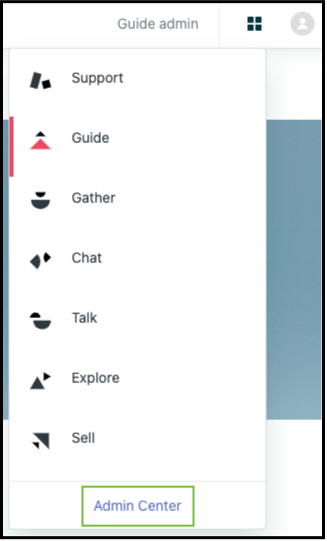
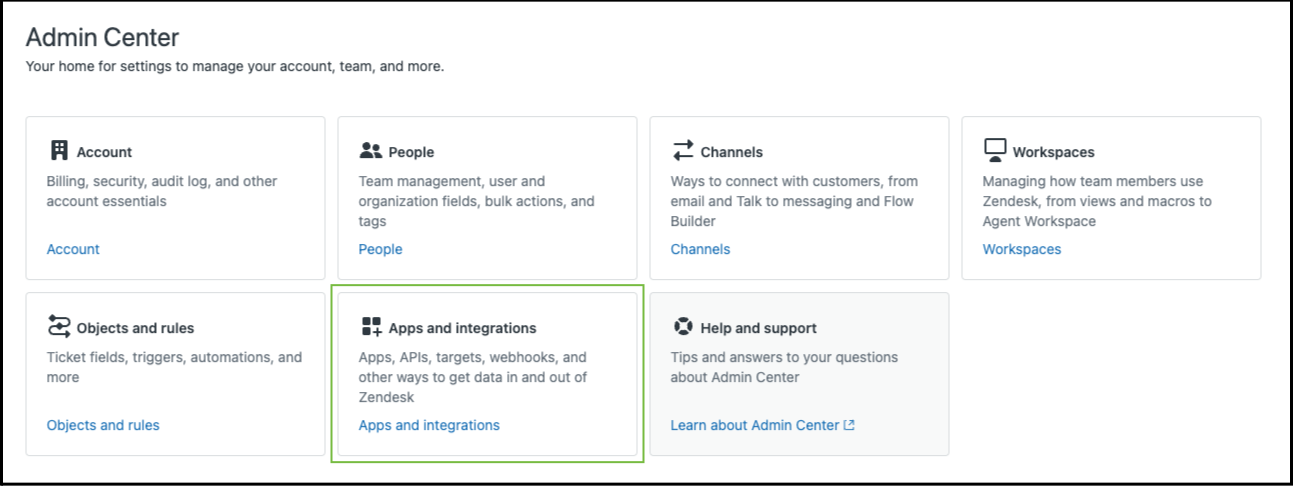
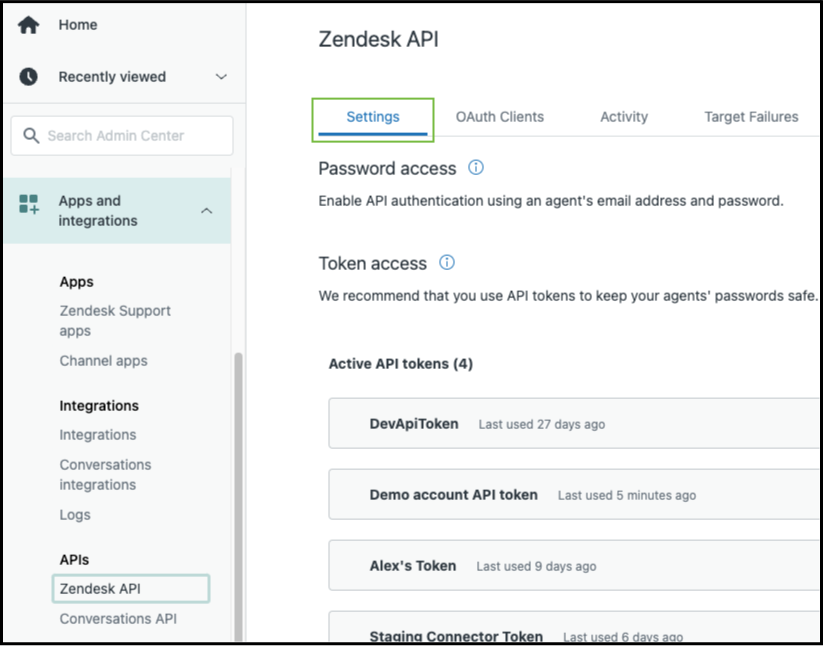
For basic authentication, we require your email address and an API token. To generate an API token, navigate to Admin Center > Apps and integrations > Zendesk API > Settings.
Here, enable Token access, then click Add API token.
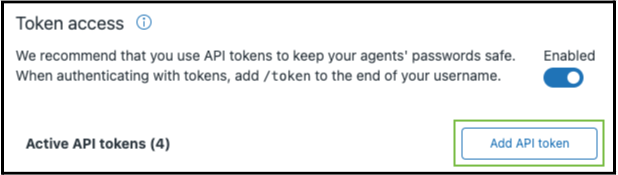
Give the token a name, copy it and click Save.
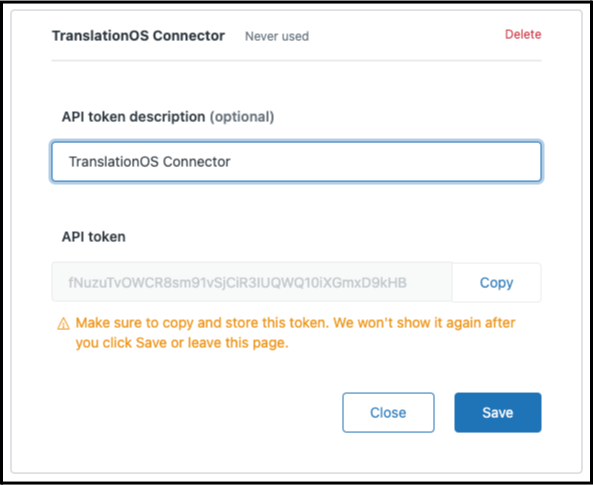
Send us the following information:
-
Your Zendesk domain.
-
The email address of the user with which the API token was generated, i.e. the user which the connector will impersonate.
-
The API token.
OAuth authentication
For OAuth authentication, we require an OAuth2 token. Follow this guide to create it, then send us the following information:
-
Your Zendesk domain.
-
The OAuth2 token, which corresponds to the full_token property mentioned in the guide.
Setting up Guide
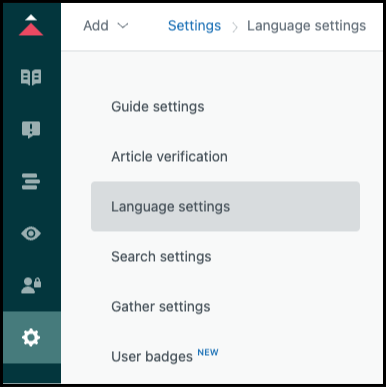
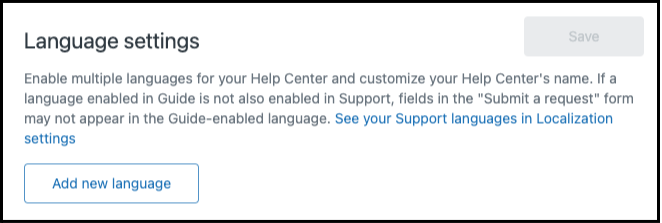
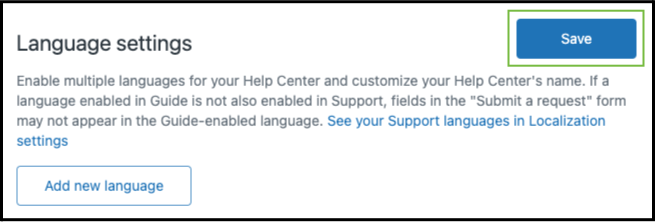
To get your Guide module ready for translation, you’ll need to add all languages into which you expect to request translations. To do this, navigate to Guide admin > Settings > Language settings.

If not all languages are present in the list, click Add new language.
Select the desired language from the drop-down. Choose the variant specifying the region (e.g. Portuguese (Portugal) rather than Portuguese), where possible.
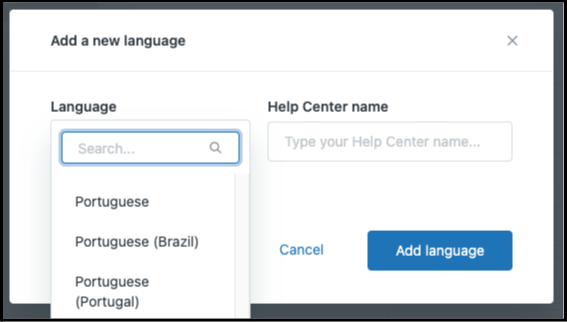
Click Add language, then click Save.
Also let us know whether you would prefer categories and sections to be translated automatically or manually so that we can configure your connector accordingly.
Setting up Support
To prepare your Support module for translation, you’ll need to configure a default source language and select all the languages into which you expect to request translations.
To configure the default source language, navigate to Admin Center > Account > Localization.
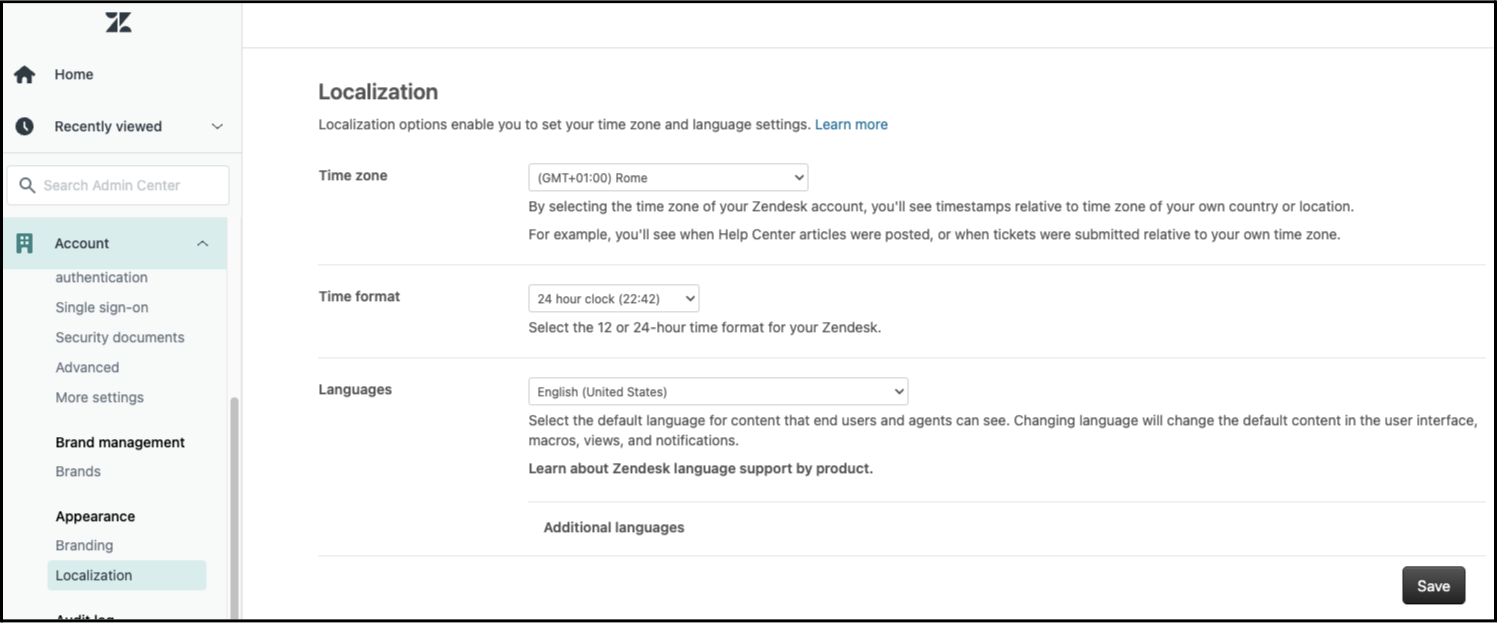
Select a language in the Languages drop-down, then click Save.
Now it’s time to select your desired target languages. In the same view as above, click Additional languages.
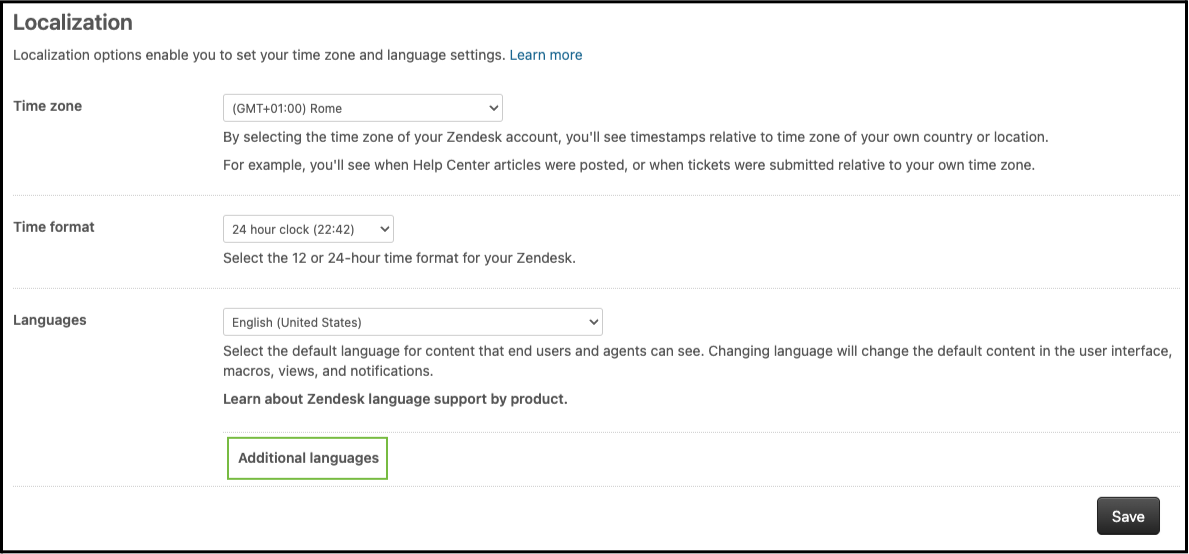
Tick the boxes alongside the desired languages, choosing the variant specifying the region (e.g. Portuguese (Portugal) rather than Portuguese), where possible, then click Save.
Using the connector
Accessing TranslationOS
Log in to TranslationOS with your credentials.
Navigating the UI
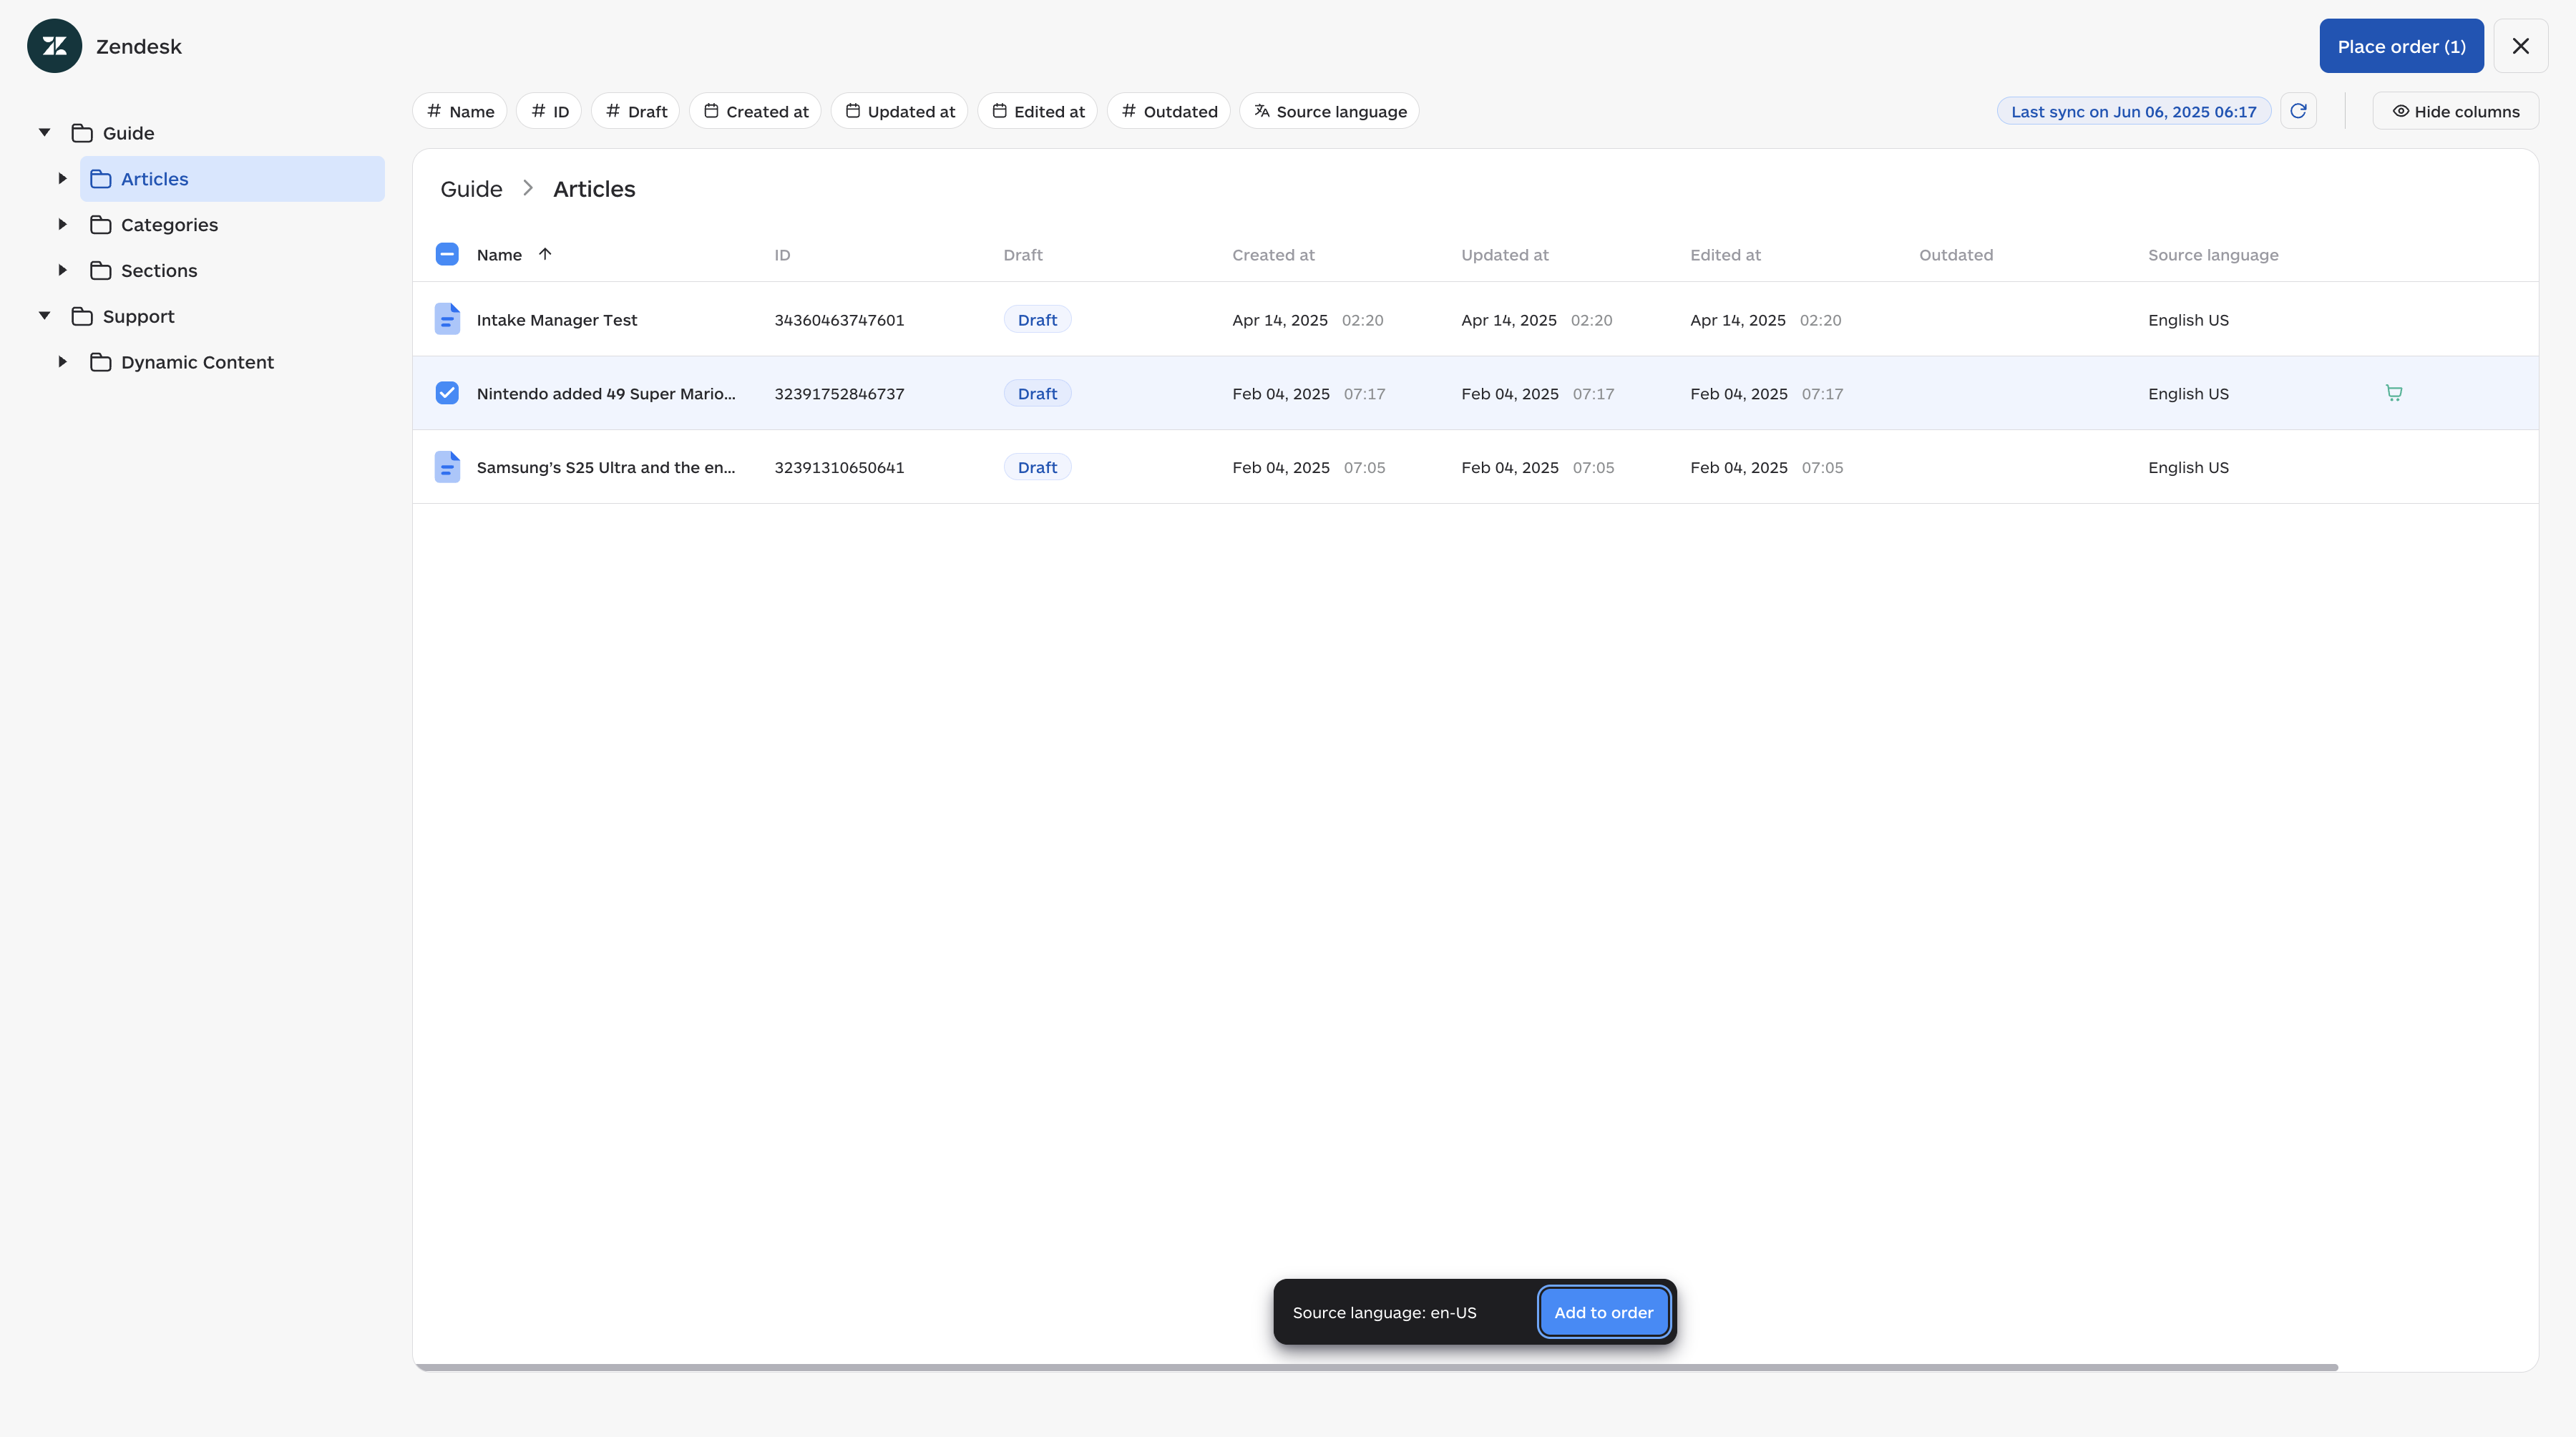
In the sidebar you can select whether to view your Guide or Support content.
Requesting translations
Select the items you want to translate.
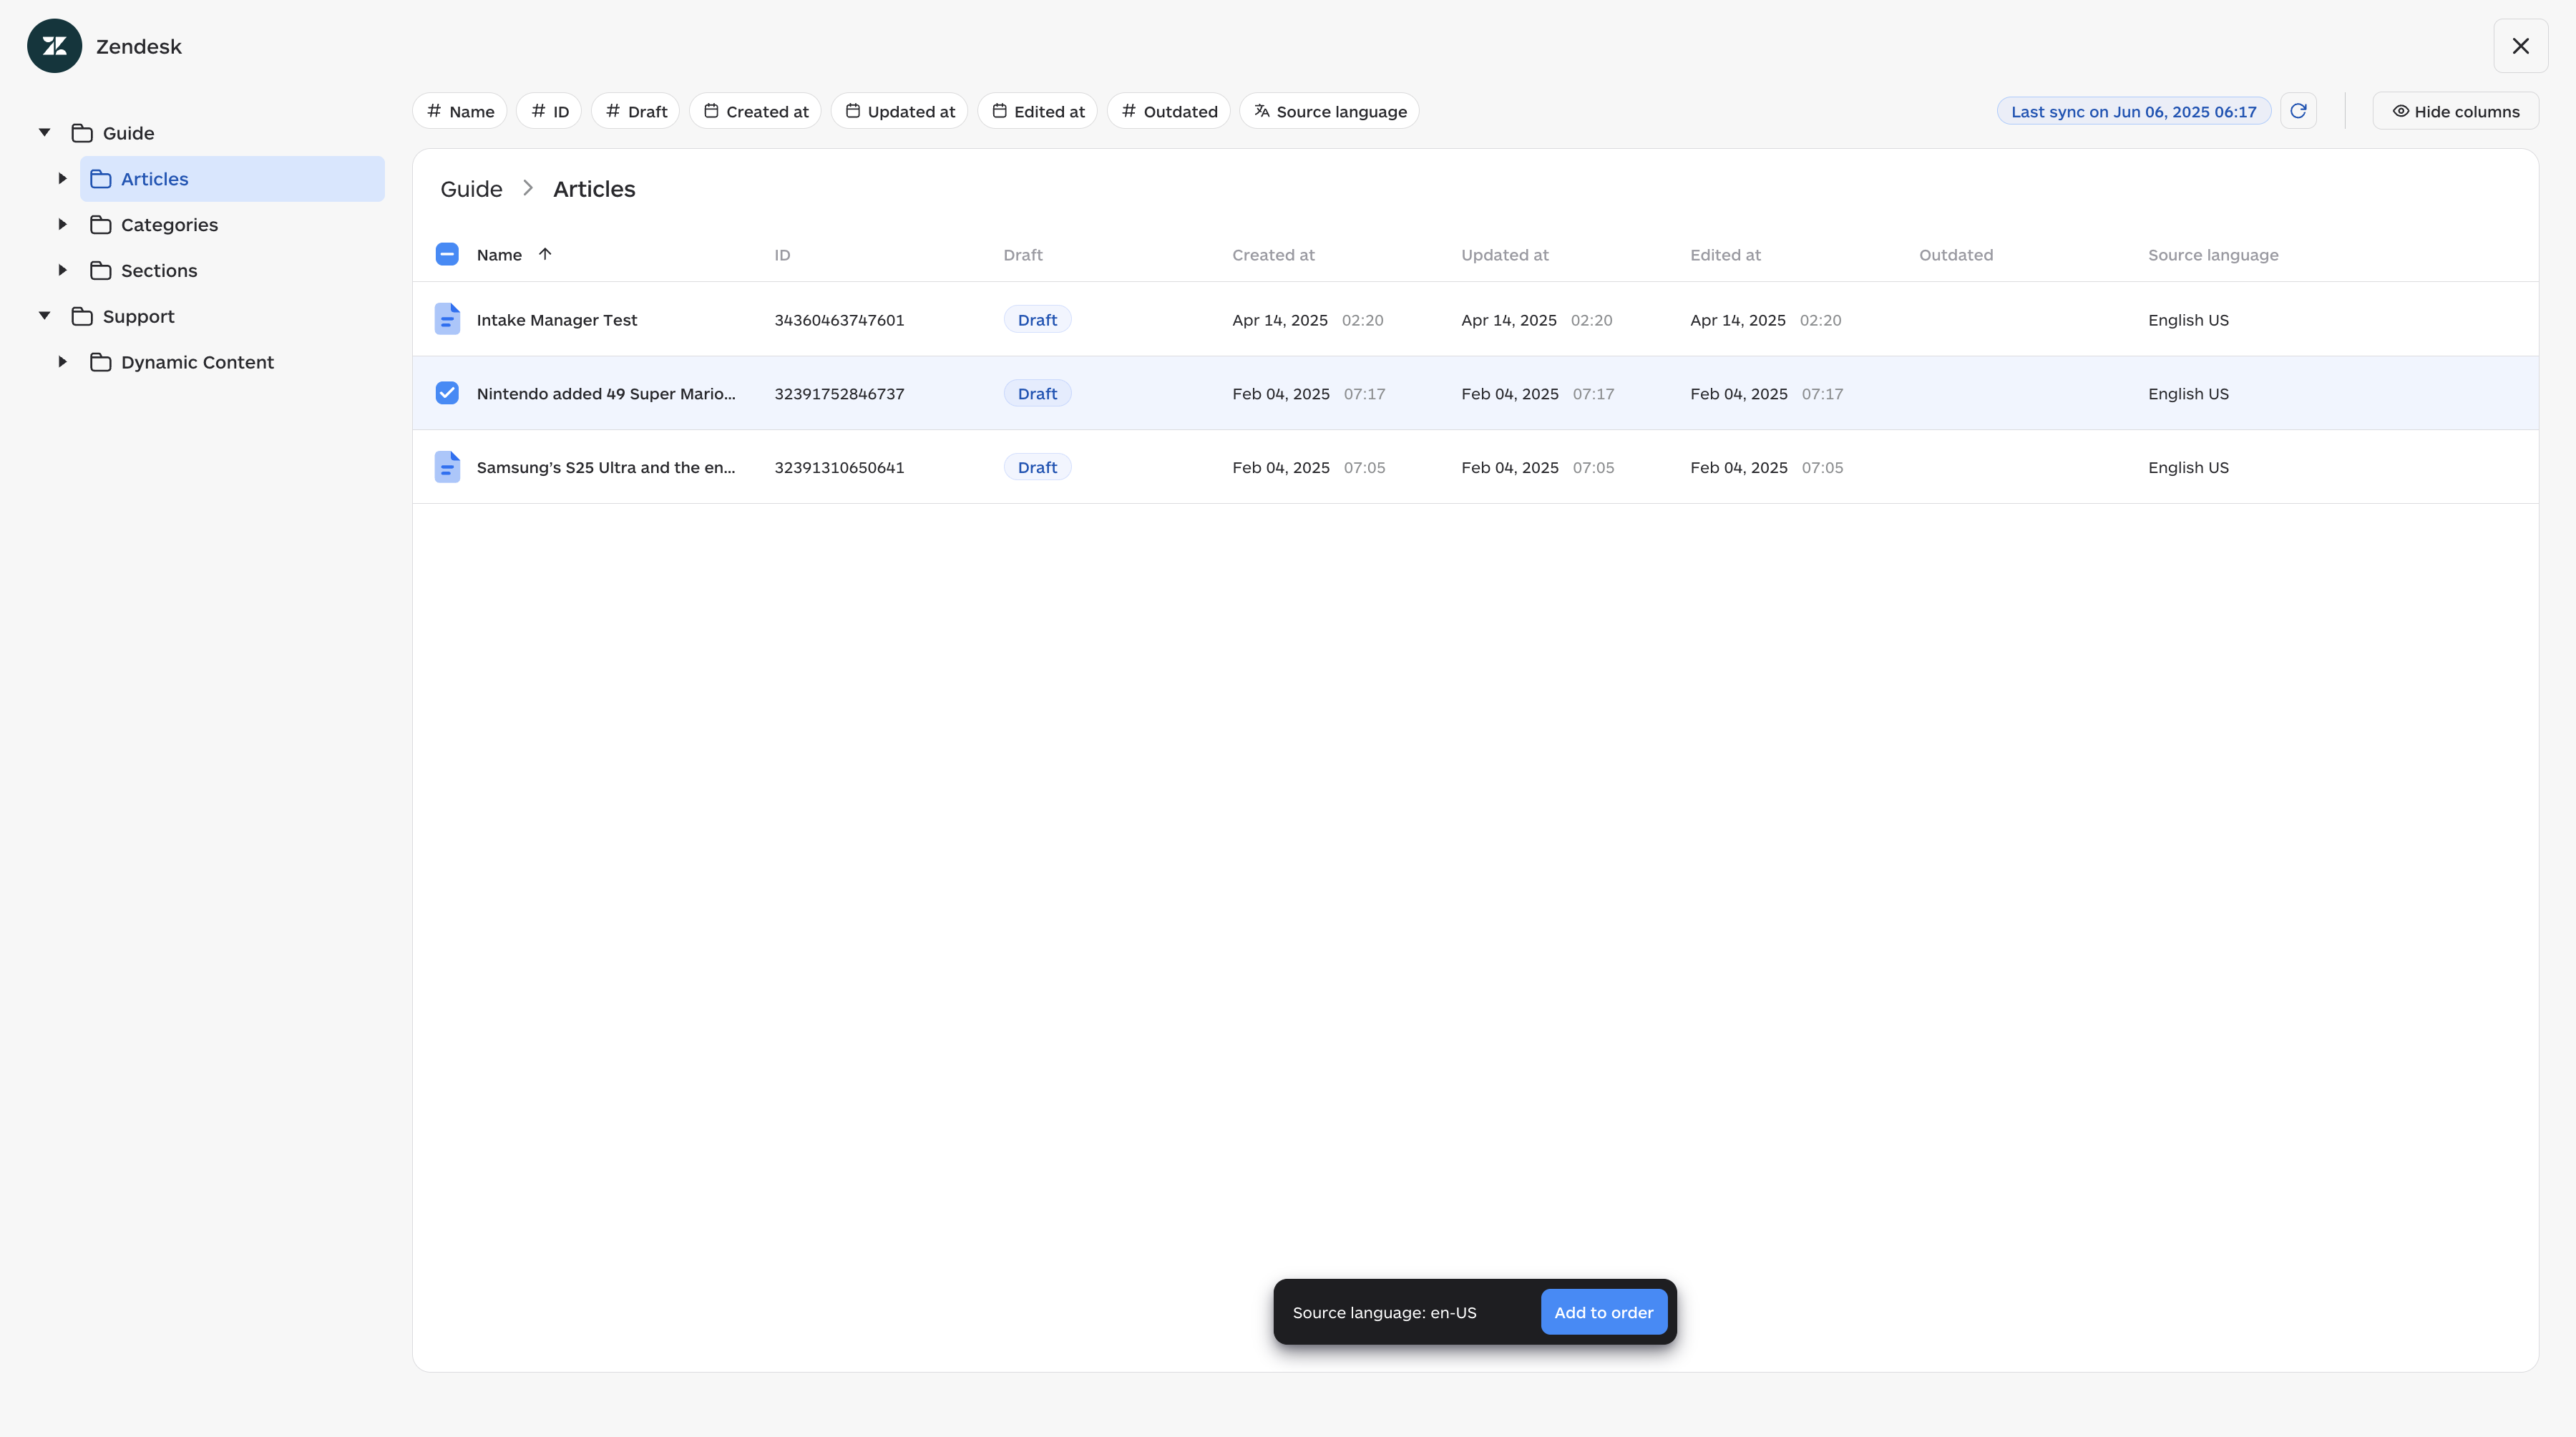
Once you have selected your items, click Add to order. A button labelled Place order will appear in the upper right corner with the total number of items in the cart.
Click Place order when you are ready, and fill in the fields as required.
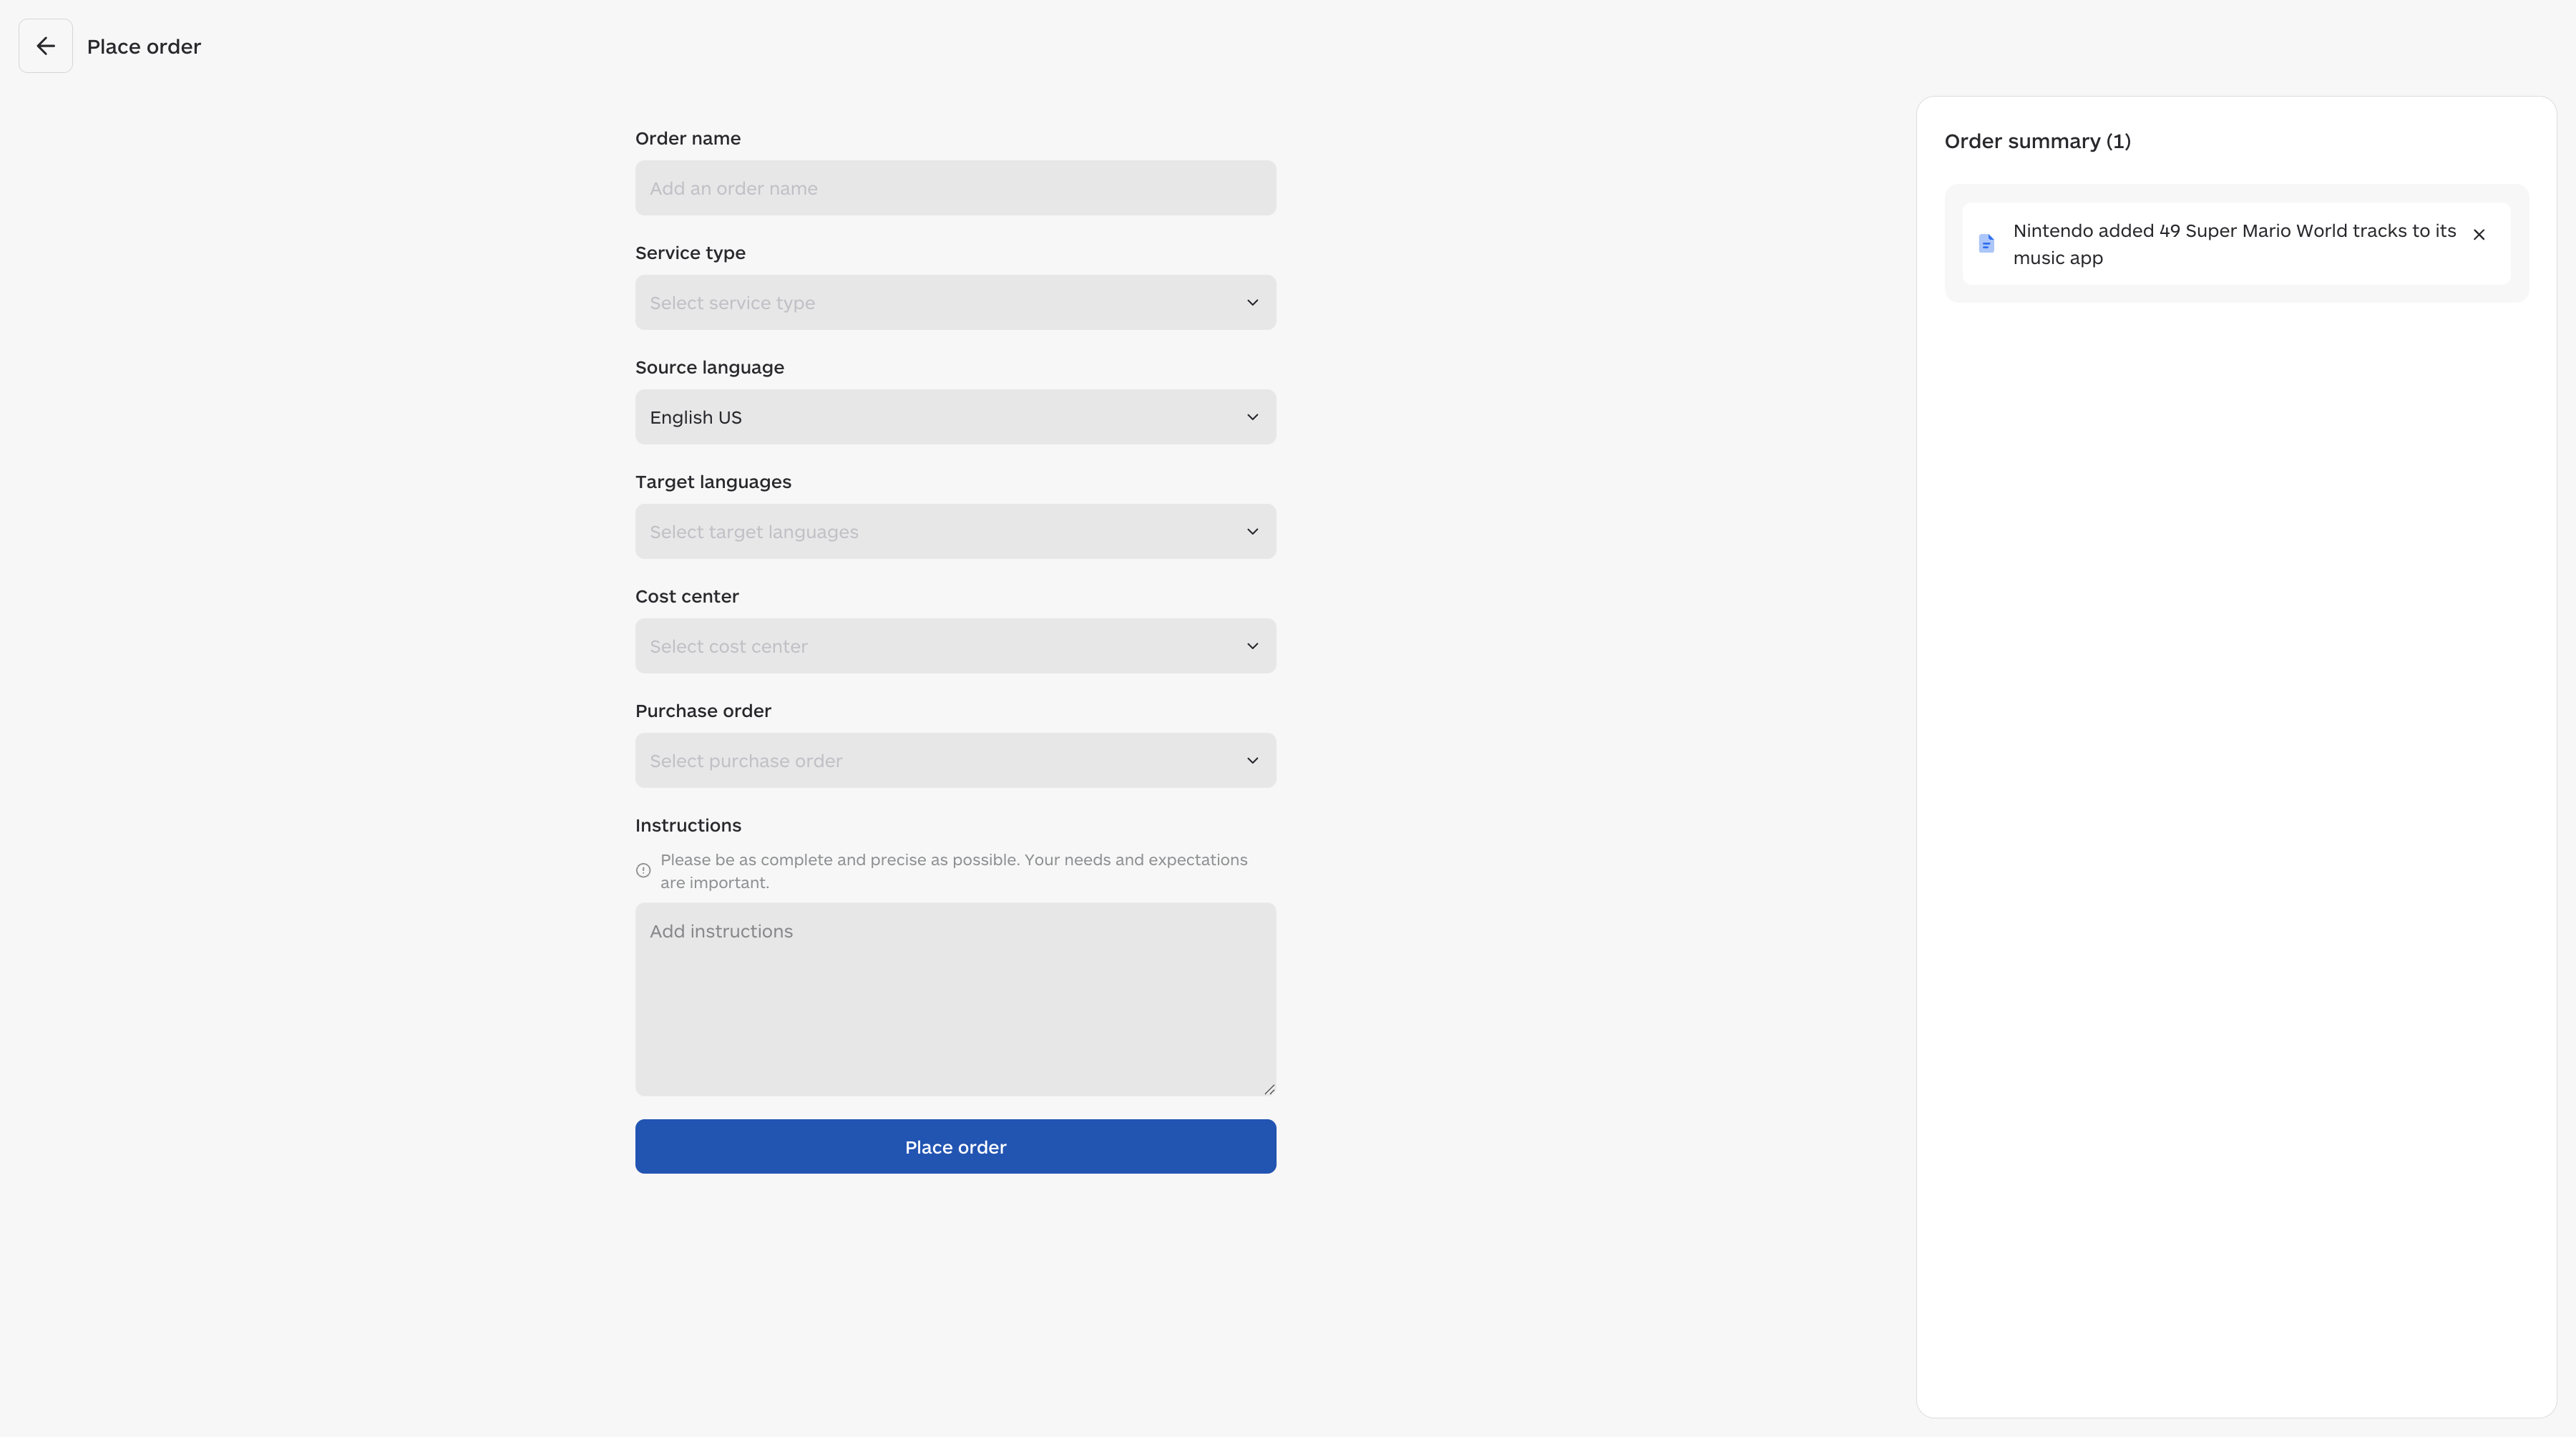
Click Place order to complete your order.
Monitoring the translation progress
Once the order has been submitted successfully, the status of the included forms is available on TranslationOS.
Receiving the translated content in Guide
The translation is delivered as a draft Zendesk translation of the article, and the translations of all associated categories and sections are uploaded as well.
Receiving the translated content in Support
The variant content is updated and its status is set to Active, making the translation usable by Zendesk.
FAQ
How do I track my assets in TranslationOS?
TranslationOS uses abstract concepts like content ID, order ID and order group ID to map your content. The values for these fields change depending on the source platform. To retrieve a Zendesk asset in TranslationOS, use the Requests or Content views in TranslationOS and search by any of the values in the table below.
Guide: Articles
|
TranslationOS ID |
Zendesk value |
|---|---|
|
Content ID |
<article ID> |
|
Order ID |
Article |
|
Order group ID |
Guide |
Guide: Sections
|
TranslationOS ID |
Zendesk value |
|---|---|
|
Content ID |
<section ID> |
|
Order ID |
Section |
|
Order group ID |
Guide |
Guide: Categories
|
TranslationOS ID |
Zendesk value |
|---|---|
|
Content ID |
<category ID> |
|
Order ID |
Category |
|
Order group ID |
Guide |
Support
|
TranslationOS ID |
Zendesk value |
|
Content ID |
<dynamic content item ID>|<dynamic variant ID>|<dynamic content name> |
|
Order ID |
Dynamic|<dynamic content name> |
|
Order group ID |
Support|Dynamic |