Introduction
The TranslationOS connector for WPML makes it easy to entrust Translated with the professional or automated translation of your content, strings, themes and plugins, saving you the hassle of importing and exporting content or switching between tools.
To use our services, you will require at least the Multilingual CMS plan for WPML.
This connector is event-based, meaning it is triggered by specific actions. To learn which actions trigger the connector, see the section Requesting translations.
Support
For general questions about functionality, our dedicated support team can be reached at info-tos@translated.com.
If you need technical information or you’re ready to integrate WPML with TranslationOS, feel free to reach out to us at api@translated.com for assistance with onboarding.
The onboarding process may vary depending on your needs, but the following steps are a helpful guideline:
-
Reach out to WPML support, letting them know which WordPress plug-ins you are using so that they can ensure full compatibility with WPML.
-
Translated will provide you with an API key, after which you will set us up as a service provider.
-
Translated will ask you to provide a screenshot of all the languages you have configured in WPML so that we can configure any needed mappings.
-
You will agree with Translated on the required service levels, also known as service types. Translated will take care of configuring the connector for you.
-
We will be ready to receive, process and deliver your translation requests!
WordPress plug-ins
Get in touch with WPML support, letting them know which WordPress plug-ins you are using so that they can ensure full compatibility with WPML before we set up the connector.
Setting up the connector
You will need to do some configuration to add Translated as a service provider. Ask us for an API key before you do this. With that done, we will need a screenshot of the languages you’ve set up in WPML so that we can create language code mappings where required.
Setting up Translated as a service provider
To enable you to send us content for translation, you’ll need to configure Translated as a service provider, as explained here. If you haven’t set up WPML yet, install it and go through the setup wizard.
Next, navigate to WPML → Translation Management → Translators and search for Translated in the Translation Services section. Authenticate with your API key.
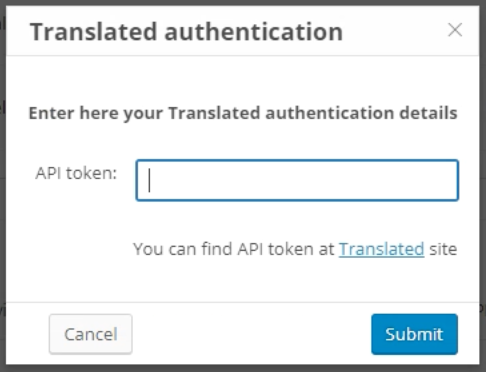
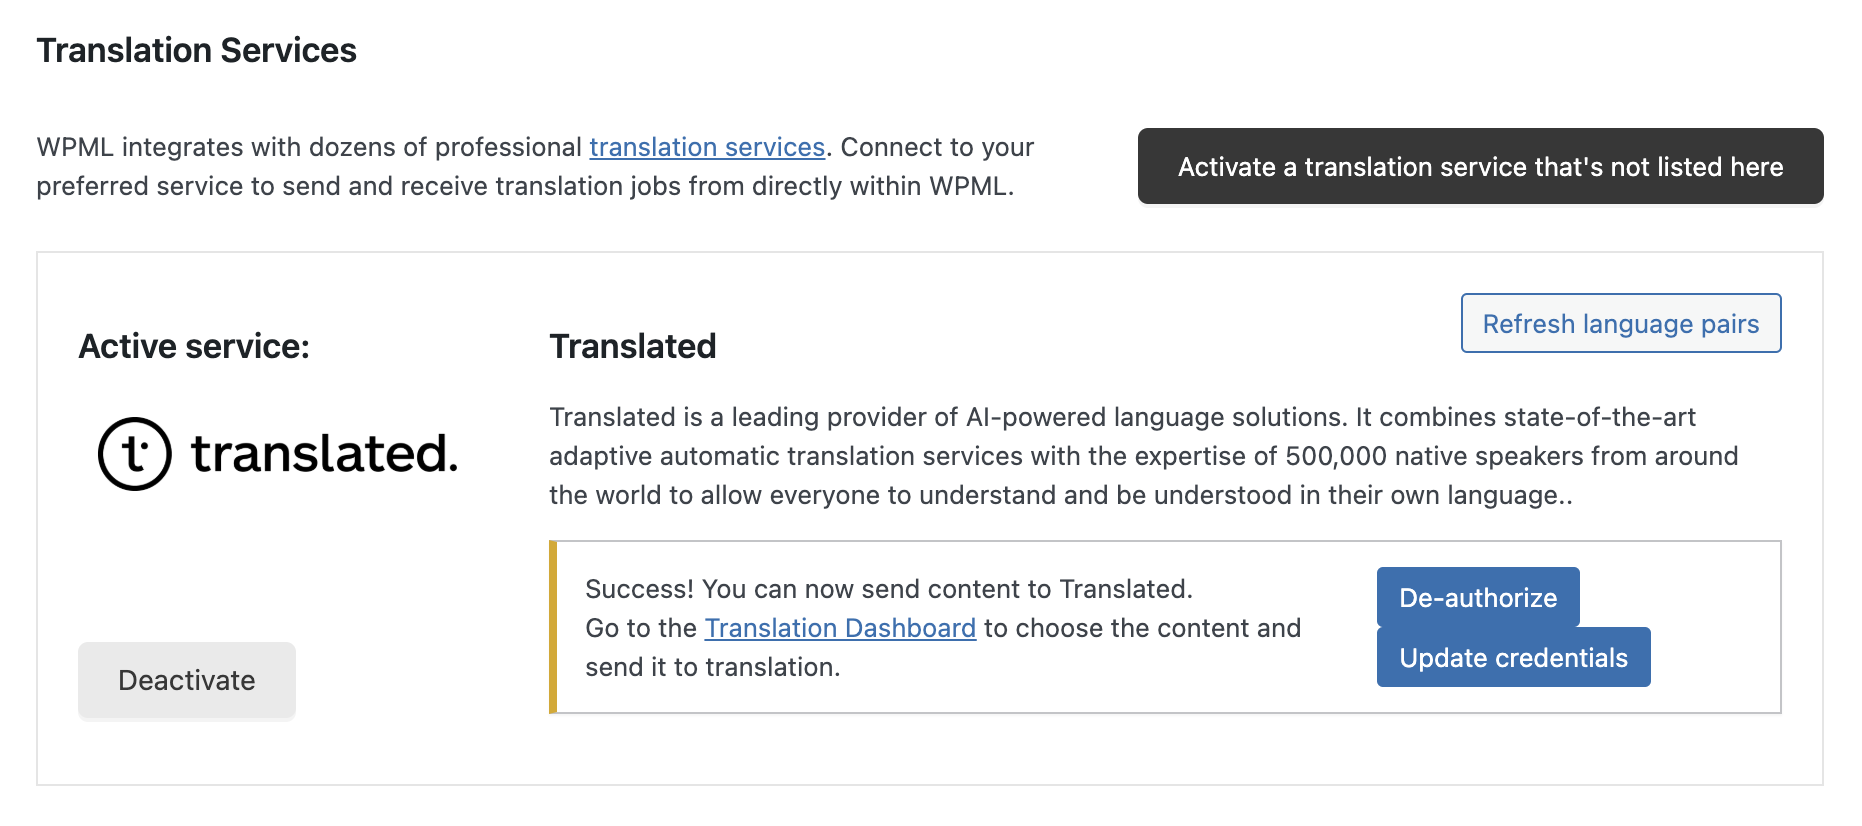
You’ll see the following message.
Retrieving the configured languages
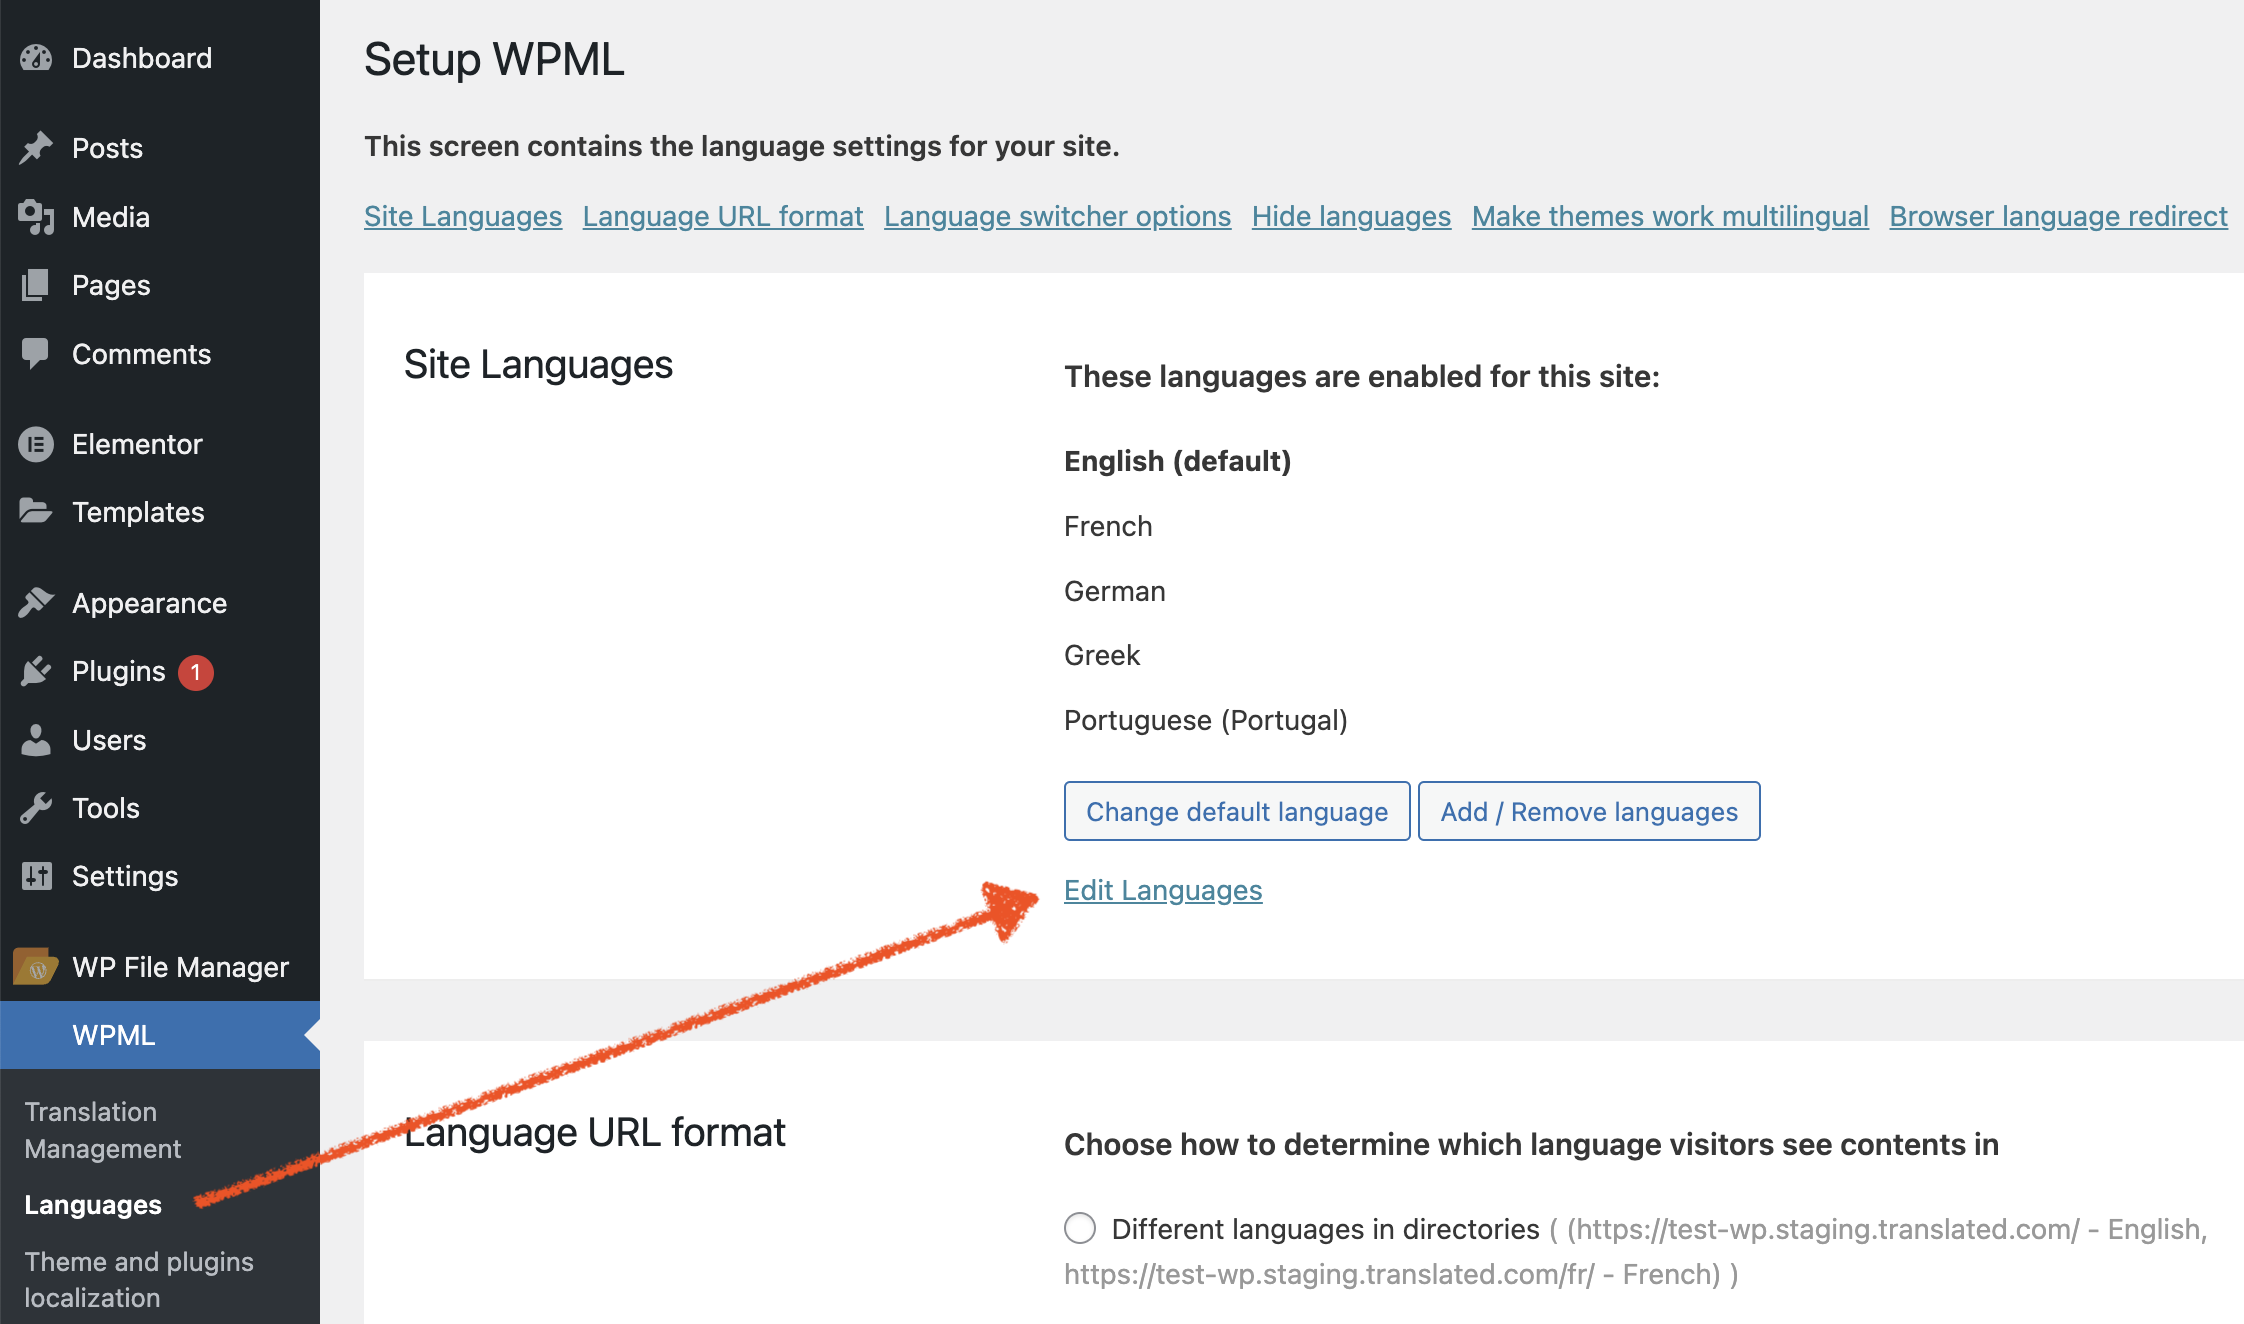
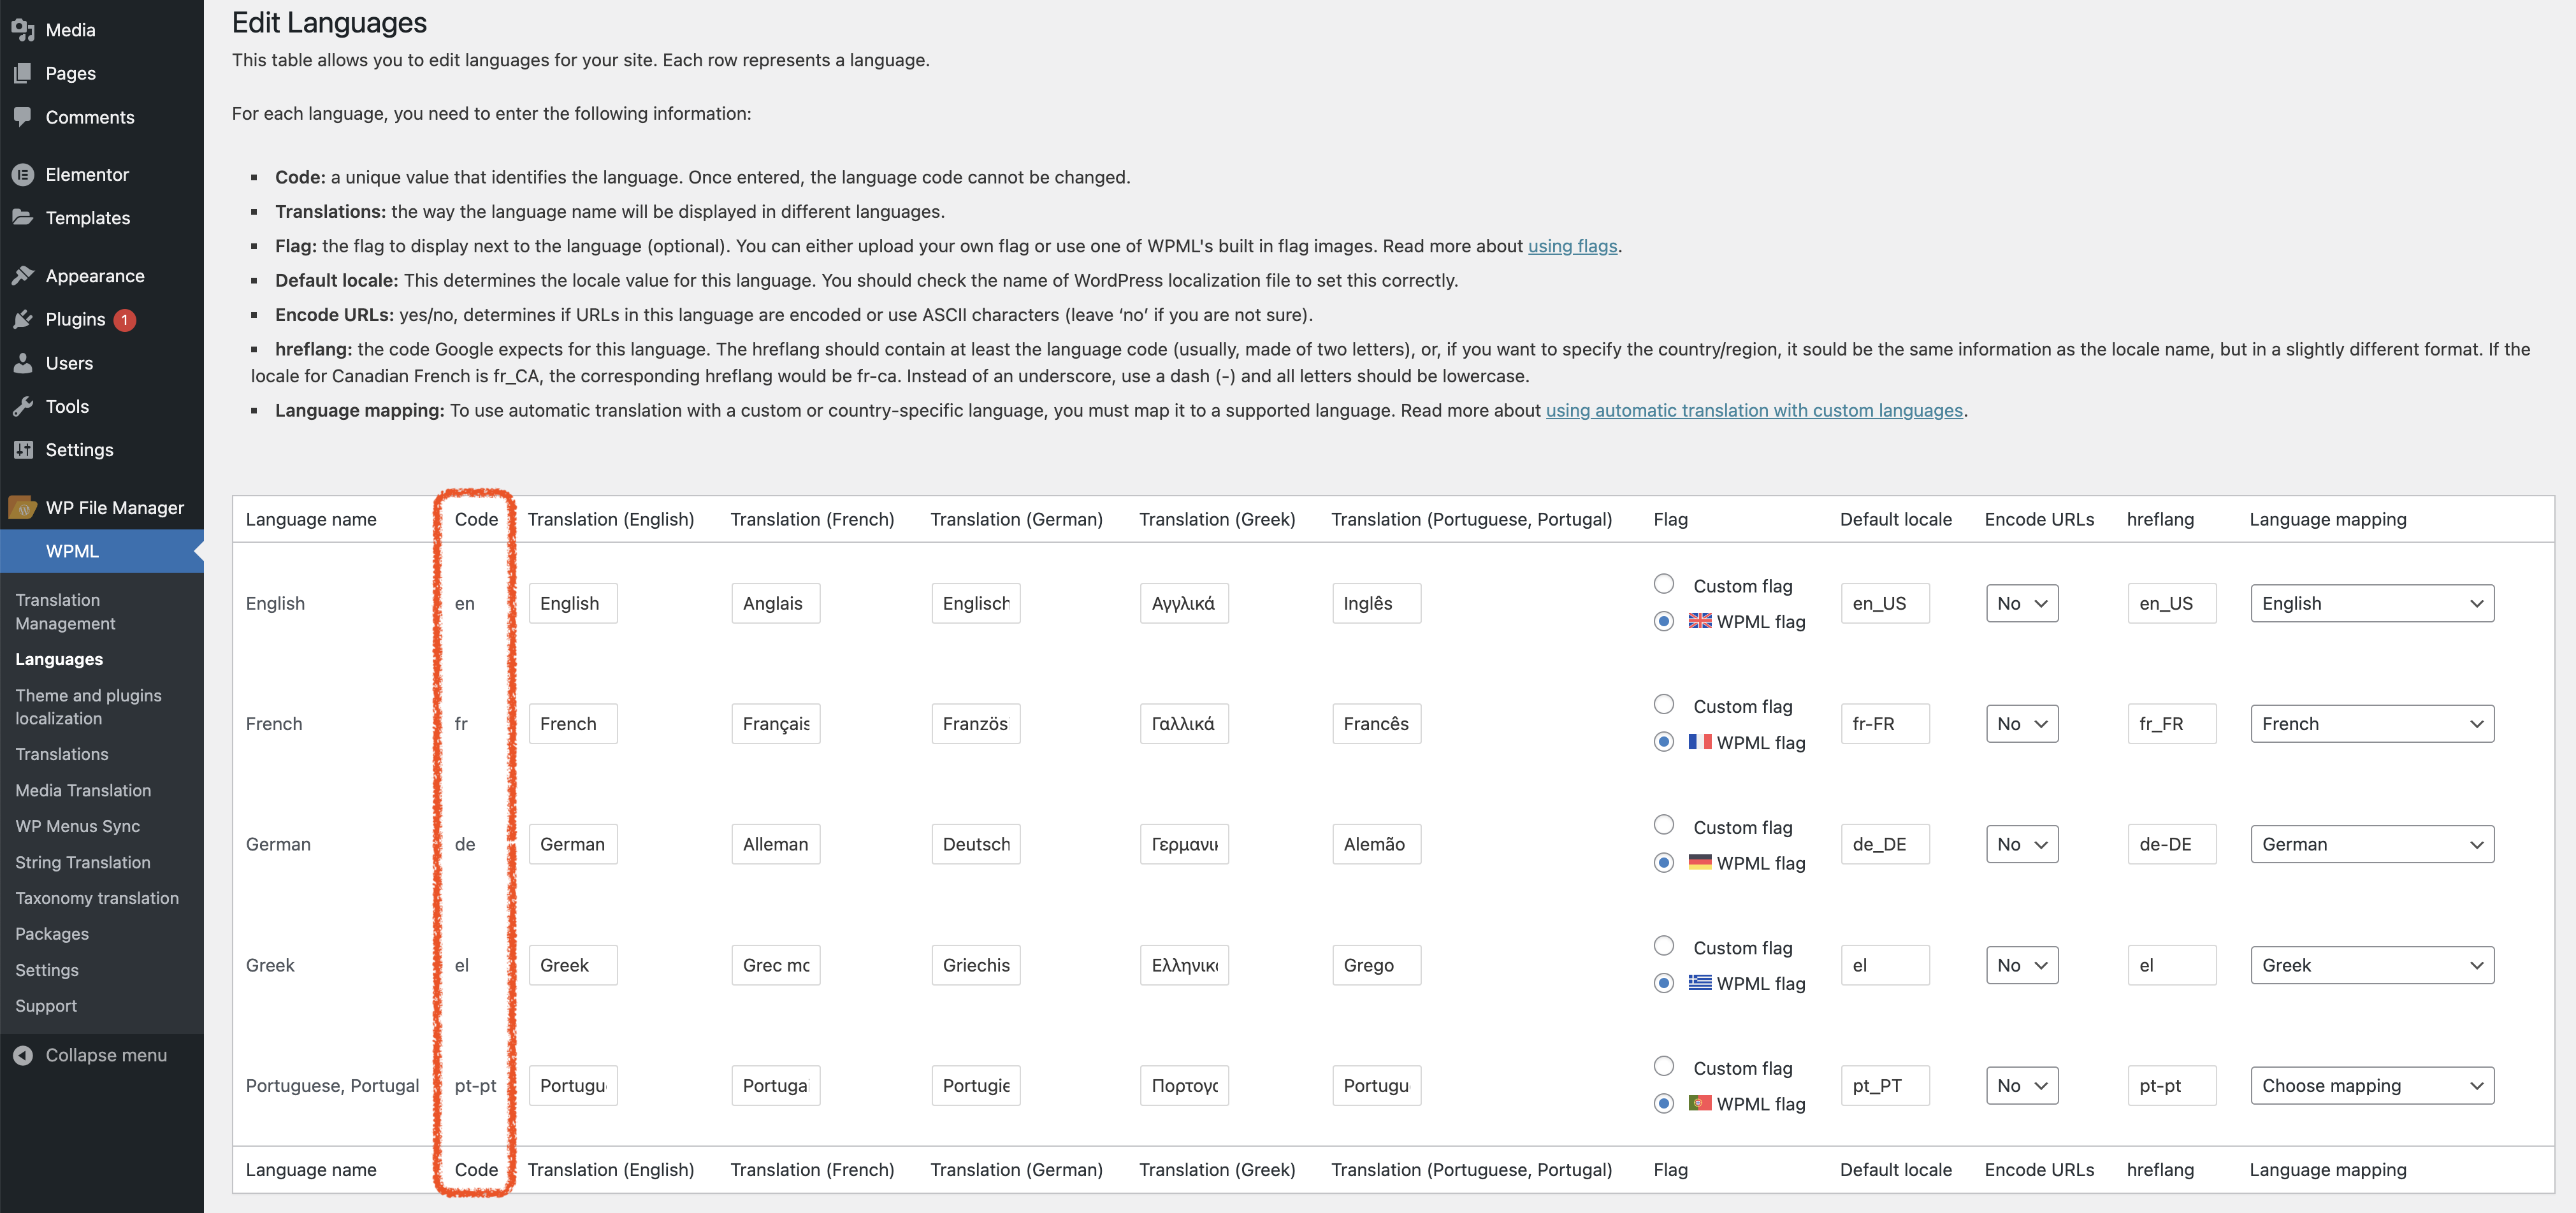
To see which languages have been set up in WPML, navigate to WPML in the left-hand sidebar, select Languages, then click Edit Languages in the Site Languages section. Capture a screenshot of the view and send it to us so that we can set up any necessary language code mappings.
Custom components
If you are using Advanced Custom Fields (ACFs), follow this guide to ensure compatibility with WPML.
If you are using Contact Form 7, follow this guide to ensure compatibility with WPML.
Using the connector
Requesting translations
-
Navigate to WPML → Translation Management, and open the Translation Dashboard tab.
-
In the section Step 1, select items for translation, as per these instructions.
-
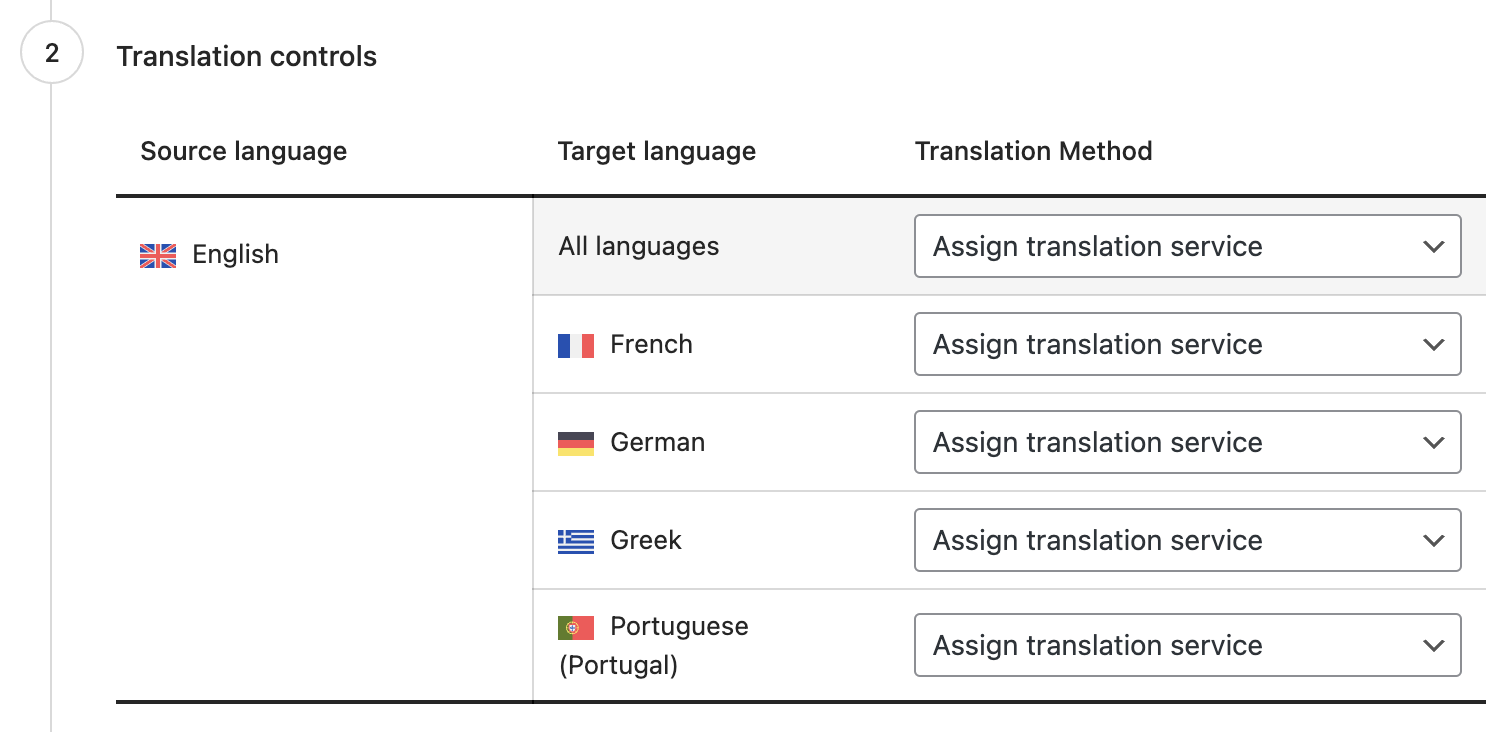
In the section Step 2, choose Assign translation service alongside each of the target languages you want to assign to Translated.
-
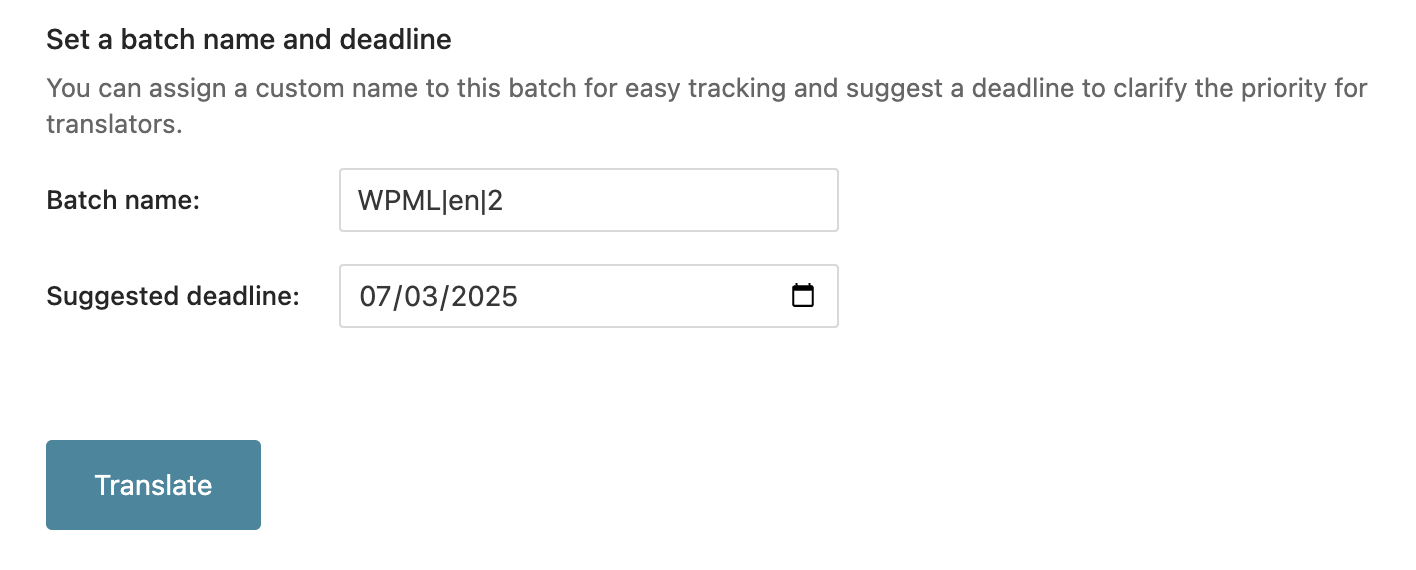
Set a batch name or keep the default value.
-
The suggested deadline will be disregarded, as it will be calculated based on the service type, so the default value may be left unaltered.
-
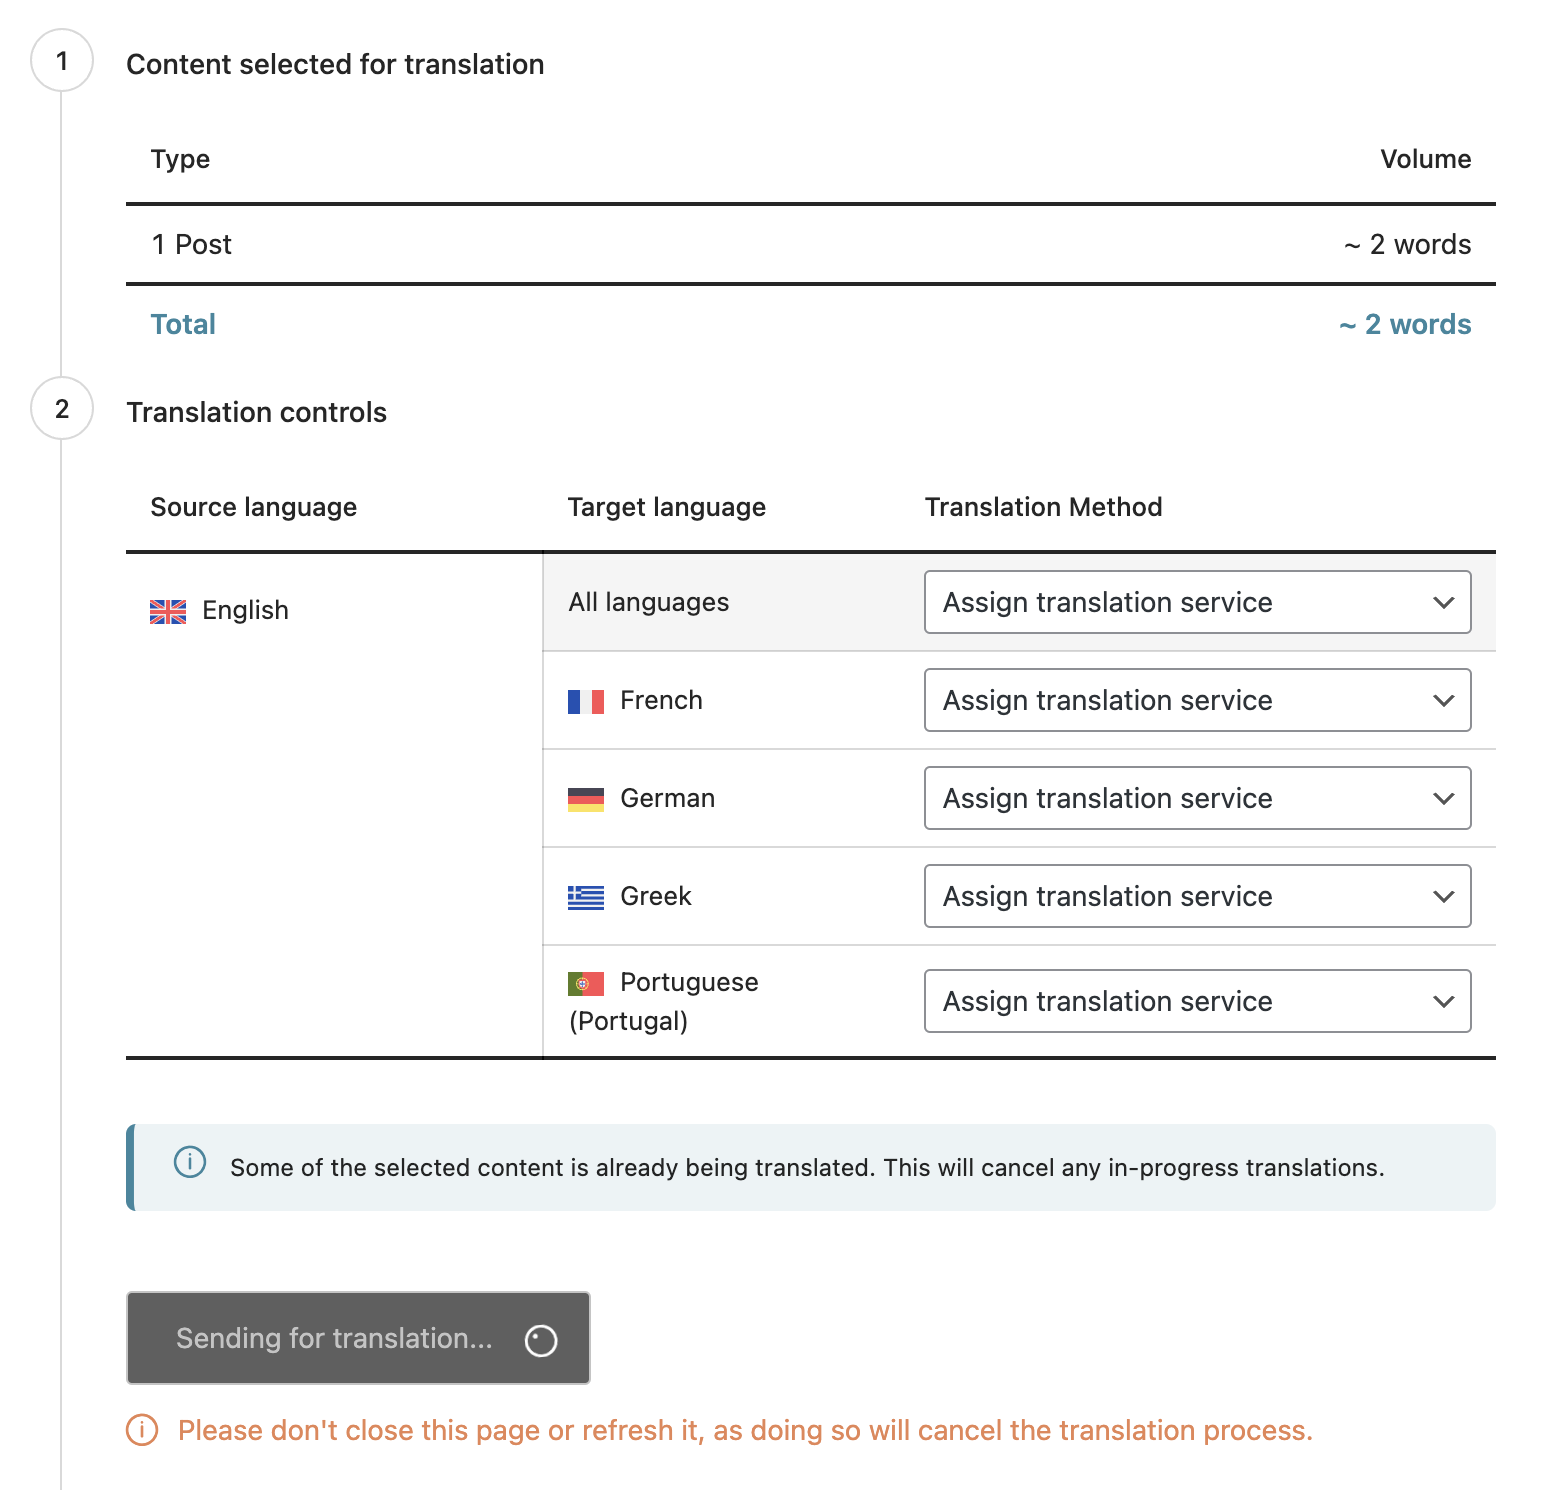
Click Translate.
-
The jobs are sent to us for processing.
-
If everything goes well, you’ll see a pop-up confirming that the order has been sent and inviting you to check its status. If not, see here.
.png?cb=3c3d9eb89bba96b2170c0baeaaa7750b)
-
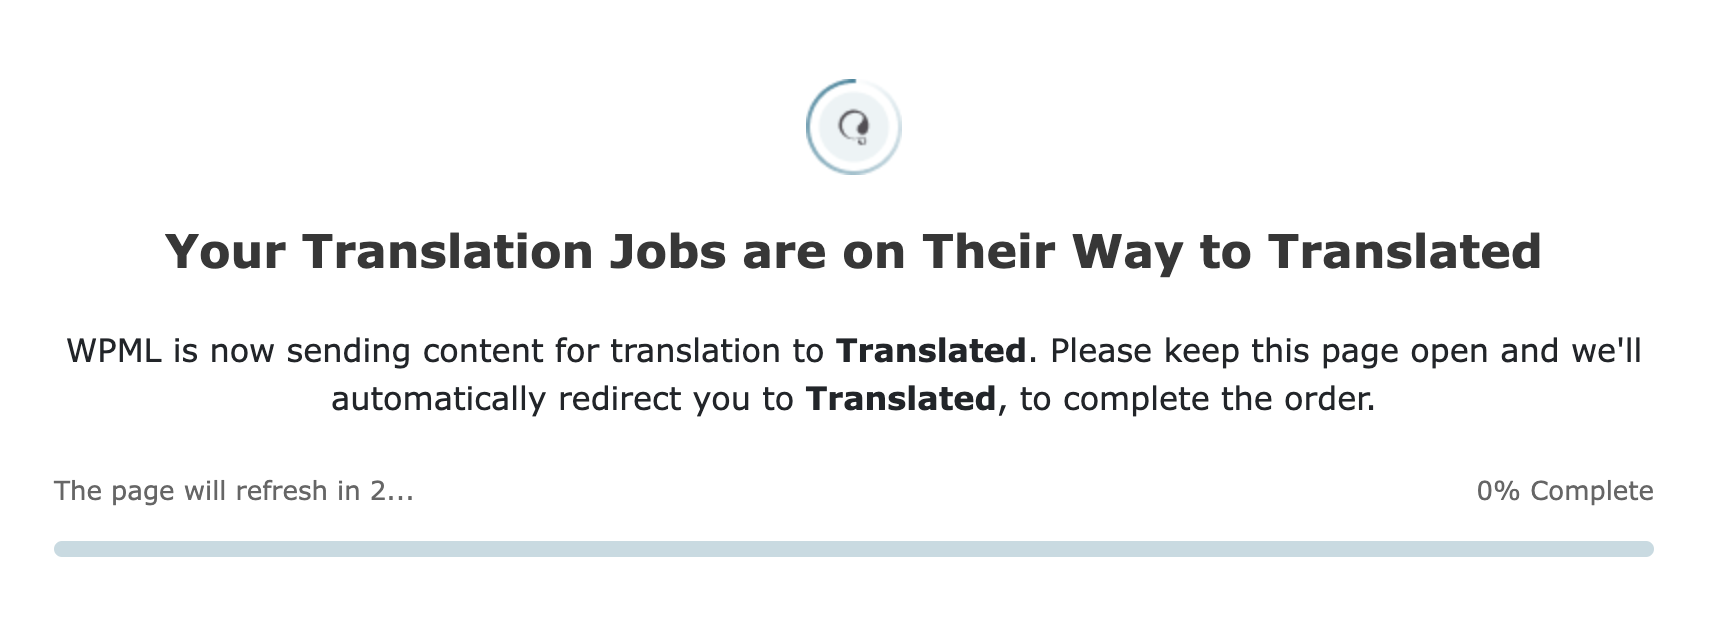
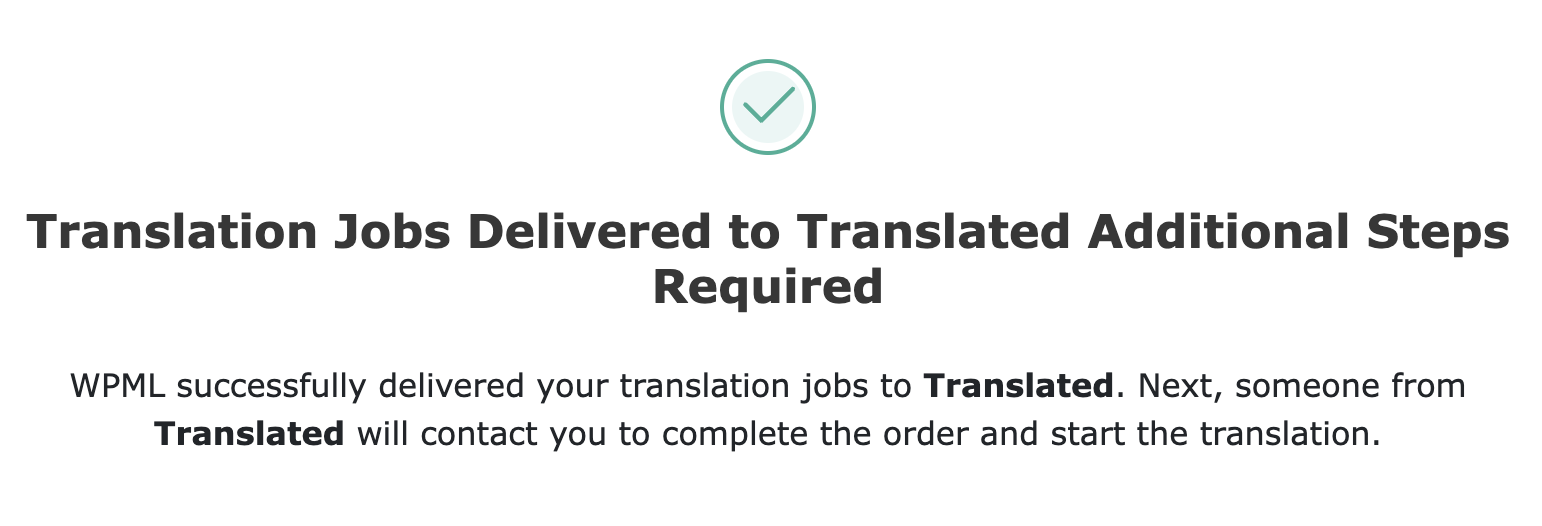
Clicking Continue to Translated takes you to a page that displays the following.
-
As soon as our connector has successfully processed the jobs, the following message is displayed.
Receiving the translated content
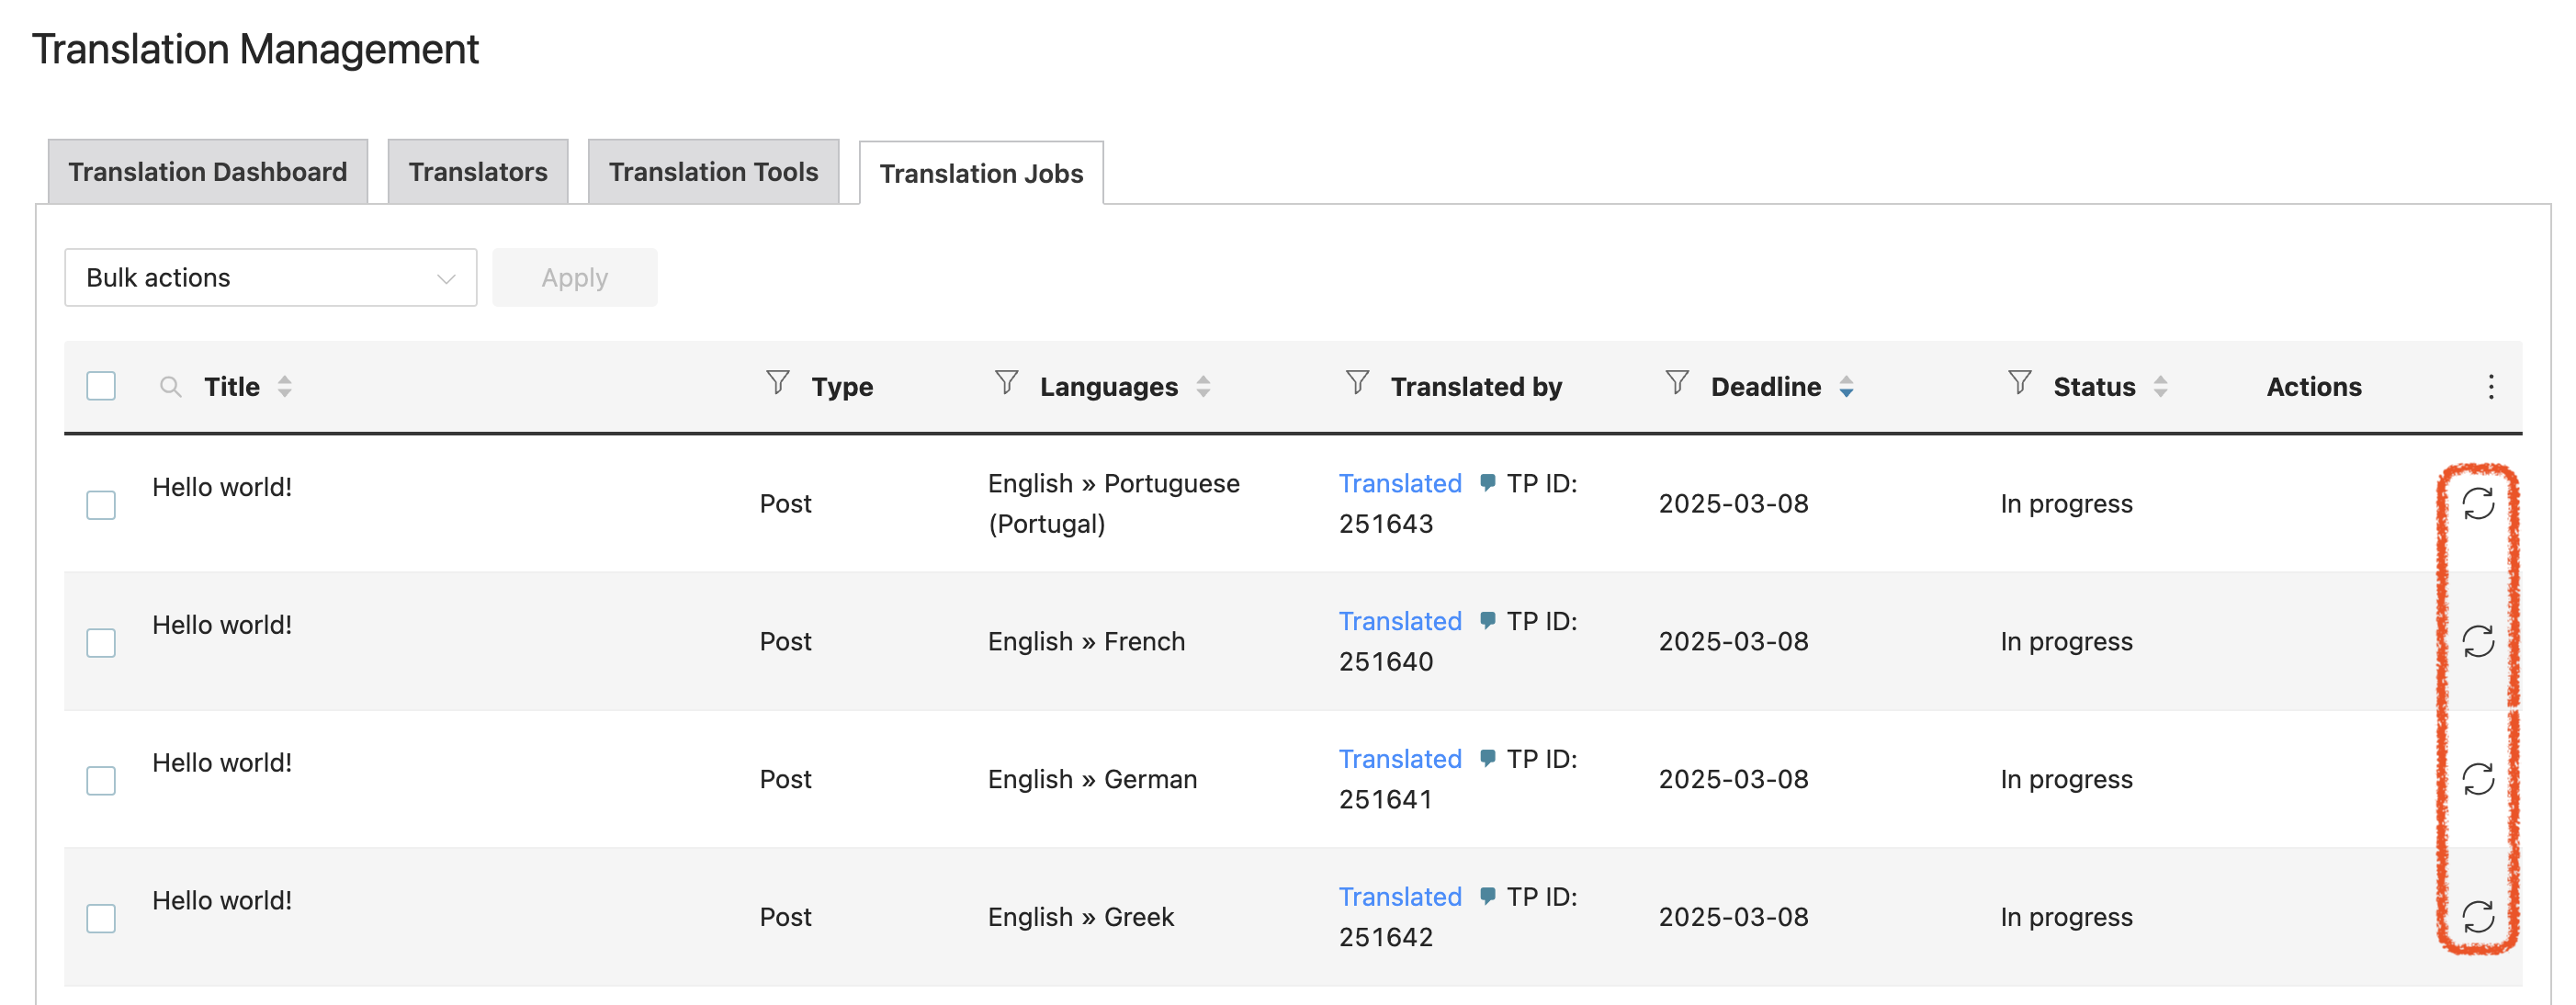
-
In the Translation Jobs tab, click the Start batch sync icon in the Actions column alongside any of the assets in the batch to synchronise the status of the entire batch.
-
The WPML TP checks the status of the job.
-
If the job has not been cancelled, the WPML TP downloads the target XLIFF.
-
If everything proceeds successfully, the WPML TP notifies the connector to confirm delivery.
-
The translations are imported automatically. To do so manually at any time:
-
click the Get translation icon alongside each asset, or
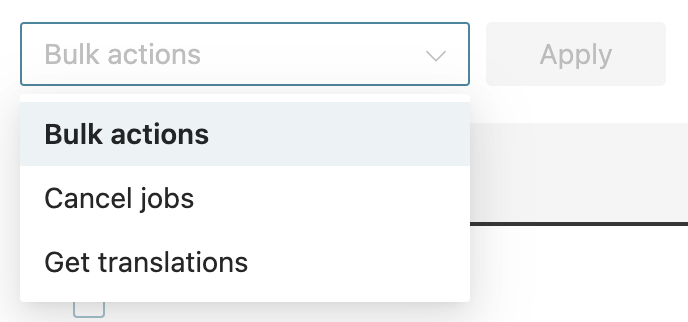
-
select all relevant assets and use the Get translations bulk action.
-
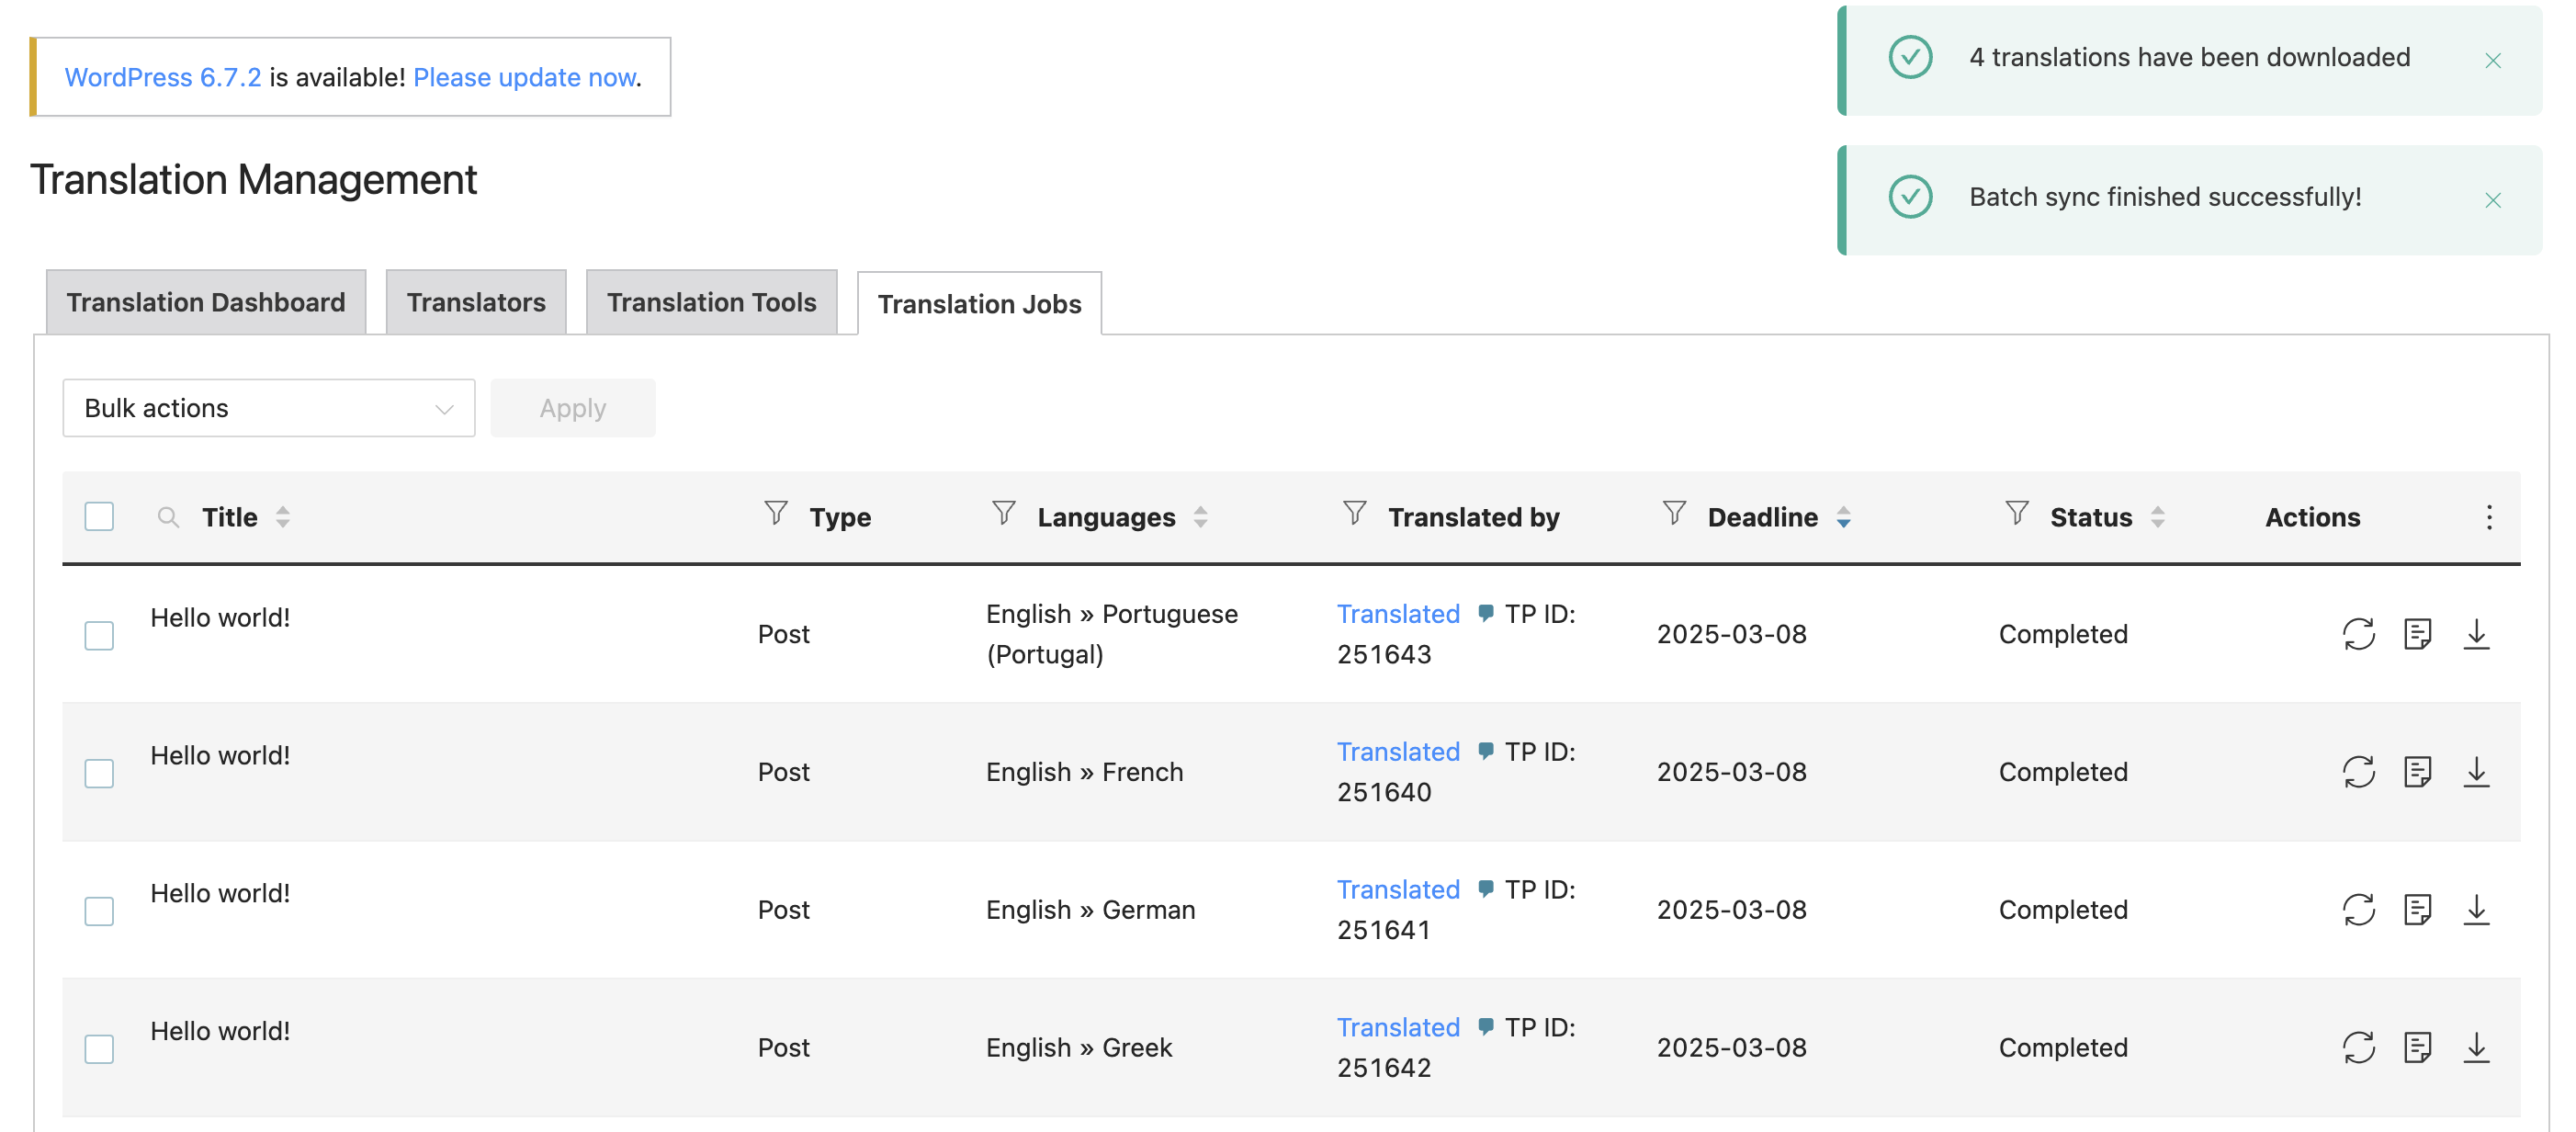
-
If the import is successful, you will see two pop-ups confirming the successful batch sync and the number of translations downloaded, and the job status will change to Completed.
Cancelling translations
In-queue requests can be cancelled on TranslationOS. All other cancellation requests require the intervention of the project manager.
Known issues
After you have submitted a request to translate an asset, you can submit a new request for the same asset while the initial translation is still underway. The first request is automatically cancelled on WPML and is no longer visible. We do not receive any notification to alert us to this situation. However, delivery is not hindered on our end, so invoicing is unaffected. We kindly ask that you inform us before you cancel a translation request.
FAQ
How do I track my assets in TranslationOS?
TranslationOS uses abstract concepts like content ID, order ID and order group ID to map your content. The values for these fields change depending on the source platform. To retrieve a WPML order in TranslationOS, use the Requests or Content views in TranslationOS and search by any of the values in the table below.
|
TranslationOS ID |
WPML value |
|---|---|
|
Content ID |
<job ID> |
|
Order ID |
<transaction ID>-<project ID> |
|
Order group ID |
<project name> |
Which WPML plan is required to use the connector?
To add Translated as a provider, you will require at least the Multilingual CMS plan for WPML.